
It Takes Two Helltower: Platforming Prodigy Walkthrough
Climb the It Takes Two helltower with a step-by-step route, wall-jump timing tips, and a rooftop shortcut to earn Platforming Prodigy achievement today.
Jump to
Where Is the Helltower, and What Does It Unlock?
The It Takes Two helltower puts the Platforming Prodigy achievement at the top of an optional climb where a missed jump can send you back to the bottom. You’ll find it in the Cuckoo Clock chapter’s Gates of Time section, tucked into the town you can explore before continuing the story. To conquer the It Takes Two helltower, activate it together, learn its moving platforms, and have each player reach the summit individually.
That last detail matters: one player finishing the climb does not unlock Platforming Prodigy for both players. Cody and May each need to make it up.
| Detail | What to look for |
|---|---|
| Chapter | Cuckoo Clock |
| Checkpoint | Gates of Time |
| Location | The explorable town, near the horse-riding minigame |
| Visual landmark | The Helltower sign behind the Bomb Run minigame |
| Activation | Cody and May ground-pound the two base buttons simultaneously |
| Reward | Platforming Prodigy for the player who reaches the top |
Find the Sign and Raise the Tower
Head across the town from the area where you entered and look for the Helltower sign. If the buildings make it difficult to spot, climb onto the rooftops and use the higher view to locate it behind Bomb Run.
Once you reach the sign:
- Find the two buttons at its base, marked by arrows.
- Position Cody over one button and May over the other.
- Coordinate your jumps and ground-pound both buttons at the same time.
- Watch the tower rise, then inspect the opening platforms before starting.
Use a spoken countdown to coordinate the ground pounds. After activation, consider taking turns on the climb so each player can concentrate on the next landing.
If you have already completed the game, reload Gates of Time to return for this challenge. You can tackle the tower during your original visit, too; it is an optional detour from the story.
Official page: It Takes Two (ea.com)
Climb the Rotating and Retracting Platforms
The lower It Takes Two helltower route introduces the movement patterns you’ll need higher up. Its opening platforms rotate smoothly around the central structure, while the next section adds platforms that extend and retract.
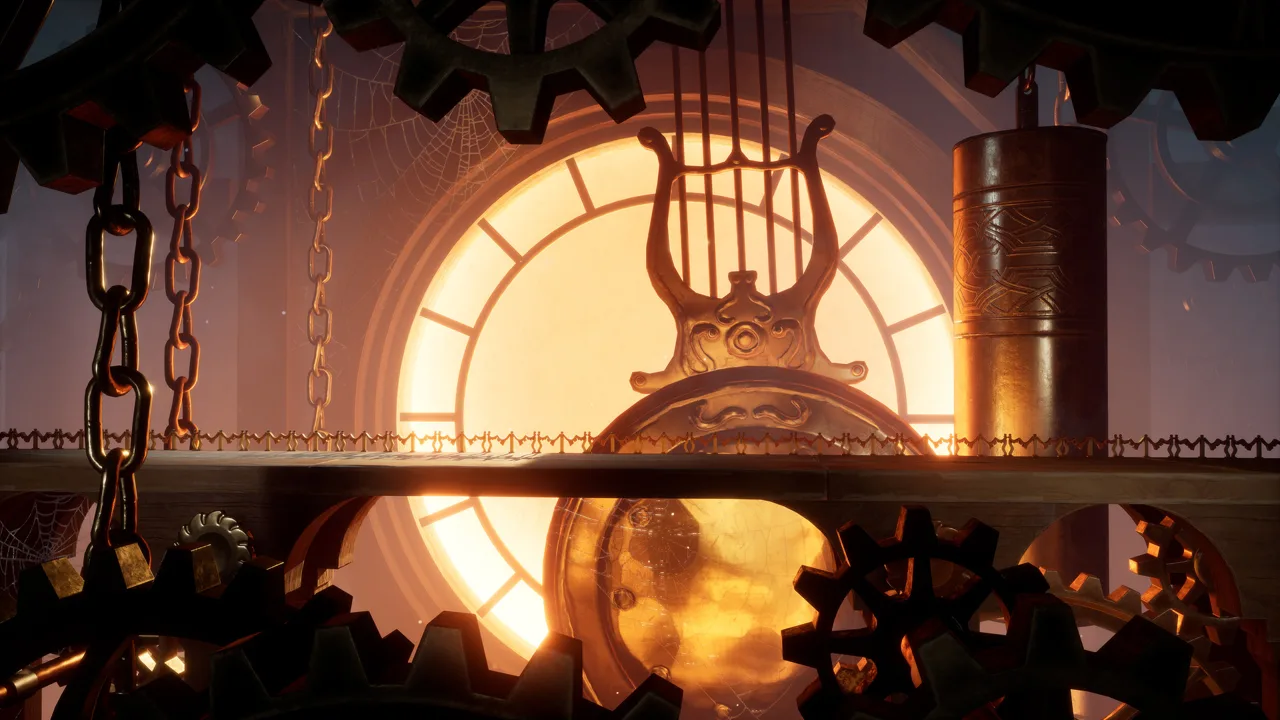 Image: Steam / Hazelight Studios
Watch the destination platform before committing to a jump. Its movement determines where you need to land and how long you can stay there.
| Tower section | Platform behavior | What to do |
|---|---|---|
| Opening three platforms | Rotate smoothly around the tower | Follow their rotation and jump when the next landing comes within reach |
| Following two platforms | Extend from one side, retract, and emerge on the opposite side | Prepare the next jump immediately after landing |
| Platform before the walls | Rotates in 45-degree intervals | Observe its stops and line up your approach to the wall section |
| Final four platforms | Alternate between smooth rotation and 45-degree movement | Read each platform’s pattern before transferring |
Use the Opening to Set Your Pace
The first three platforms give you room to understand the tower’s circular layout. Follow the next platform with your camera and wait until you can judge the gap clearly.
Keep your attention on where the platform will be when you land. Jumping toward its current position without accounting for its rotation can leave you chasing an edge that has already moved.
Practice making deliberate transfers here. The opening is also your chance to settle into the controls before the retracting platforms demand quicker decisions.
Keep Moving on the Retracting Platforms
The following two platforms slide out from the tower, withdraw, and emerge on the other side. Their temporary footholds make hesitation dangerous.
Before jumping onto one, identify your next destination. Once you land, move into position for the following jump instead of stopping to inspect the entire tower.
Separate observation from execution: study the retracting cycle before boarding, then commit to the transfer while the platform is available. Trying to work out the next move after landing uses up the time you need to leave.
If this section repeatedly ends your attempts, focus on that transition during the next run. Notice whether you are arriving late in the extension cycle or waiting too long before jumping onward.
Pass the Clamping Wall-Jump Section
The wall-jump section is the main timing test in the It Takes Two helltower. After the platform that moves in 45-degree intervals, you’ll encounter walls that clamp together as the mechanism cycles.
 Image: Steam / Hazelight Studios
The essential rule is one wall jump per closure.
Wait for the walls to come together, jump onto the wall, and hold your position. When they close again, jump across to the opposite wall. Continue with that rhythm until you can climb out of the section.
Follow the Mechanism’s Rhythm
Approach the walls with this sequence in mind:
- Watch the walls close before beginning.
- Jump onto a wall during the closed position.
- Stay in place while the mechanism continues its cycle.
- Make a single jump to the opposite wall when the walls close again.
- Repeat until you reach the upper ledge.
Resist the urge to chain wall jumps as quickly as possible. This section requires waiting between transfers; trying to squeeze multiple jumps into the same closure can undo the climb.
Use a short verbal cue such as “close, jump, wait” if it helps you maintain the rhythm. Let the wall movement set the pace.
Keep Your Attention on the Next Closure
Looking toward the summit too early can distract you from the walls directly beside your character. Watch the mechanism you are using until you have cleared it.
If you fall here, identify the missed beat before starting another attempt. Did you jump before the walls closed? Did you attempt another transfer during the same cycle? Adjust that specific action on your next climb.
The nearby ledge above the wall section gives you a breather. Once you reach it, pause and inspect the remaining platforms before continuing.
Clear the Final Platforms and Reach the Summit
Above the clamping walls, the It Takes Two helltower returns to platform transfers. The final four platforms mix smooth rotation with movement in 45-degree increments.
 Image: Steam / Hazelight Studios
Apply the patterns you learned below, but keep reading each landing separately. A smoothly rotating platform keeps moving through your jump, while a platform that turns in steps requires attention to its pauses and next movement.
Avoid carrying one fixed jumping rhythm through the entire section. Watch, line up the destination, and transfer when its movement gives you a clear opening.
Finish Each Transfer Before Planning the Next
The upper route is narrow, so focus on completing the current landing. Once your character is on the platform, turn your attention to the next one.
If you feel tempted to rush because the summit is close, pause where the platform’s behavior allows it. You have already passed the clamping walls; the remaining task is to repeat controlled jumps through familiar movement patterns.
Reaching the top unlocks Platforming Prodigy for that player. The summit also has an optional fireworks display you can interact with to celebrate.
Let your partner make their own ascent afterward if they still need the achievement. Keep the individual unlock requirement in mind before leaving the area.
Use the Rooftop Rope Shortcut
Repeatedly clearing the opening platforms can become frustrating when you are practicing the walls. The It Takes Two helltower has a rooftop shortcut that lets you skip the lower portion and enter just below the wall-jump section.
Find the building directly behind the tower and climb onto its roof. From there, jump to the nearby rope swing and time your release toward the tower’s second section.
| Step | Action | Target |
|---|---|---|
| Find the building | Go to the building directly behind Helltower | The rooftop |
| Gain height | Climb onto the roof | A position from which to reach the rope |
| Take the swing | Jump from the roof and connect to the rope | The swinging route toward the tower |
| Transfer back | Time your jump off the rope | The second section below the wall jumps |
Watch the swing’s arc before attempting the transfer. Aim your release toward the landing rather than jumping as soon as you connect to the rope.
The shortcut skips the opening portion; you still need to handle the wall-jump section and the remaining upper platforms. Use it to concentrate your attempts on the part that is stopping your progress.
If the rope transfer is giving you more trouble than the standard approach, return to the lower platforms. Choose the route that lets you reach the section you need to practice with fewer distractions.
Plan Your Achievement Cleanup Order
For achievement hunting, keep the It Takes Two helltower and the surrounding town activities together in your cleanup plan. Platforming Prodigy requires individual completion, while other nearby objectives give you reasons to explore before moving on.
| Achievement | How to unlock or advance it |
|---|---|
| Platforming Prodigy | Reach Helltower’s summit; each player must complete the climb individually |
| Force Triangulated | Discover the nearby Zelda Easter egg |
| Minigame Megalomania | Search Gates of Time for its minigames as part of discovering the game’s full minigame collection |
Use this order for the area’s completion tasks:
- Explore the town and discover its minigames.
- Locate the Helltower sign and activate the tower together.
- Have one player complete the climb.
- Have the other player reach the summit for their own unlock.
- Find the nearby Zelda Easter egg for Force Triangulated before continuing.
Keep the goals separate while checking your progress. Finding the town’s minigames contributes to a broader collection achievement; climbing the tower earns Platforming Prodigy.
Before leaving, check that both players who want the tower achievement have completed it. Taking turns also gives the waiting partner a chance to watch the platform cycles and call out the wall closures.
FAQ
Where is the It Takes Two helltower?
Helltower is in the Cuckoo Clock chapter’s Gates of Time section. Look for its sign in the explorable town, behind Bomb Run and near the horse-riding minigame. Cody and May must ground-pound the two buttons at its base simultaneously to raise it.
Do both players get Platforming Prodigy when one reaches the top?
No. Each player must climb Helltower individually to unlock Platforming Prodigy. After one character reaches the summit, the other player needs to complete the ascent for their own achievement or trophy.
How do you get past the Helltower wall jumps?
Wait for the walls to clamp together, then make one jump. Hold your position until the next closure before jumping to the opposite wall. Repeat that cycle without trying to make multiple transfers during a single closure.
Is there a shortcut up Helltower?
Yes. Climb onto the roof of the building directly behind the tower, jump to the rope swing, and time your release to land in the second section below the wall jumps. You still need to clear the walls and upper platforms to reach the summit.
Continue with
 It Takes Two Achievement Guide: All 25 Minigames & 100%Use this It Takes Two achievement guide to find all 25 minigames, unlock hidden trophies, and plan your co-op route to 100% completion with your partner.
More in Achievements
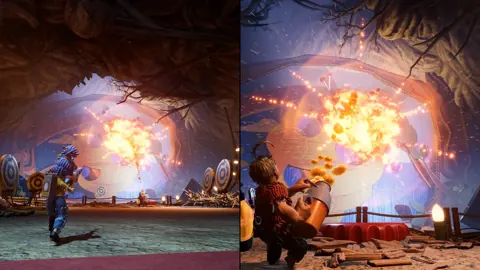
It Takes Two All Minigames: All 25 Locations Guide
Find It Takes Two all minigames with locations for all 25 challenges, chapter-by-chapter directions, and tips to unlock the Minigame Megalomania trophy.

It Takes Two Easter Eggs: Secrets and Trophy Guide
Find It Takes Two easter eggs, from A Way Out figures to Rainbow Road, with secret locations, trophy steps, and co-op tips for your next co-op playthrough.
Continue exploring
It Takes Two Joy Boss Guide: Beat Every Phase Together
Beat the It Takes Two joy boss with phase-by-phase tips for Cody and May. Clear poison, dodge crushing plants, and remove infection to save Joy together.

It Takes Two Cody: Character, Abilities & Co-Op Guide
Explore It Takes Two Cody, his clay doll form, personality, voice actor, and chapter abilities. Learn how to coordinate with May through co-op challenges.
Join the community
Official channels for news, updates and player help: