
It Takes Two Vacuum Boss: Complete Co-Op Fight Guide
Beat the It Takes Two vacuum boss with clear co-op roles, mine-return tactics, and tips for dodging shockwaves, explosive tacks, and falling lint. Team up!
Jump to
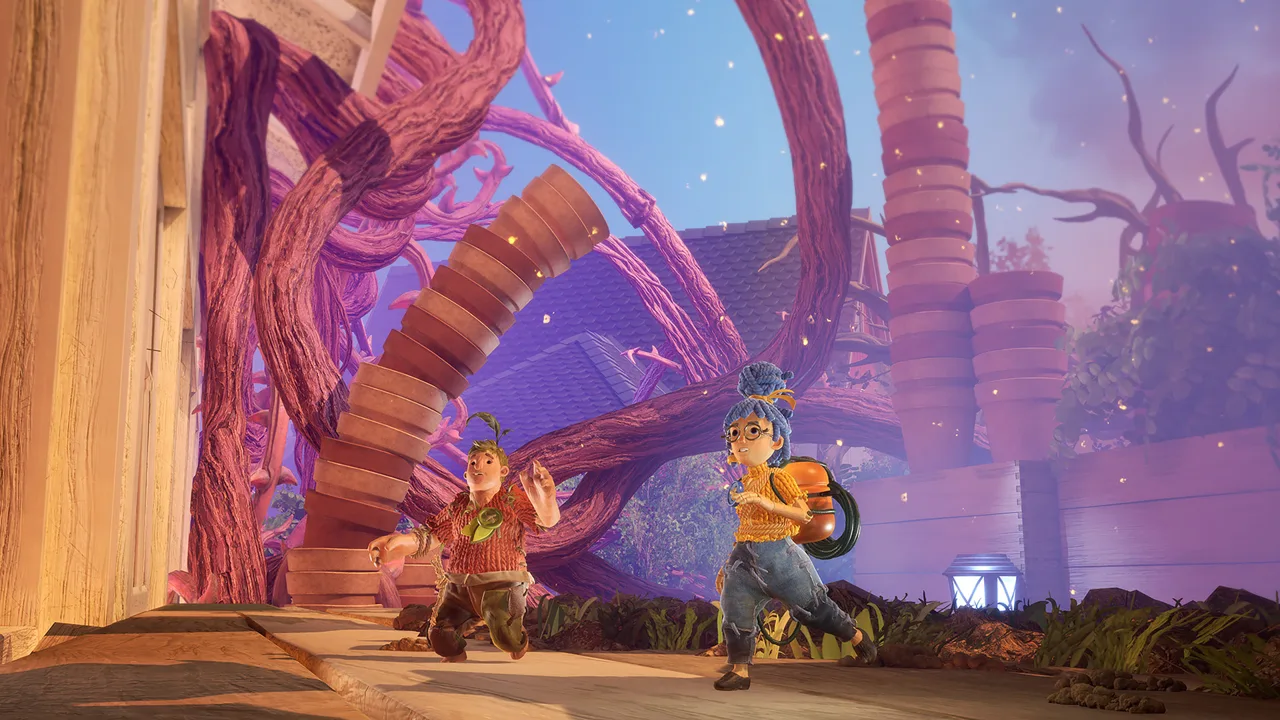
Prepare Your Co-Op Roles Before the Fight
The It Takes Two vacuum boss turns a broken household appliance into your first major test of teamwork. To beat it, have one player collect explosive mines with the lower hose while the other aims the upper hose at the boss, then dodge the attacks between damage windows. The It Takes Two vacuum boss becomes easier to handle once you separate those jobs and recognize where each attack leaves room to move.
This is the game’s first boss fight, encountered in The Shed. Cody and May face a discarded vacuum cleaner furious about being damaged, abandoned, and replaced by the Turbo X2000. That argument quickly becomes a fight built around redirecting its own explosives.
Before the action gets busy, decide who will handle each end of the hose system.
| Role | Position | Job during the damage window |
|---|---|---|
| Mine collector | Lower hose on the arena floor | Aim the intake at explosive mines and suck them up |
| Hose aimer | Upper hose on the raised platform | Aim the outgoing explosives at the vacuum |
Keep those assignments consistent while learning the encounter. Either player can handle a role; choose whichever arrangement feels easier to coordinate.
Use short calls such as “aimed,” “collecting,” and “jump.” Tell your partner when the upper hose is pointing at the boss so the lower player knows when to feed it mines. During defensive sections, call out the next hazard instead of trying to explain the entire fight at once.
The fight alternates between coordinated damage and shared dodging. Focus on the task currently in front of you: operate the hoses when they become available, then watch the arena when the boss retaliates.
Official page: It Takes Two (ea.com)
Return the Mines and Clear the Opening Phase
The opening attack gives you the ammunition needed to hurt the vacuum. It throws explosive mines into the arena, so dodge them while waiting for the hose platform to rise.
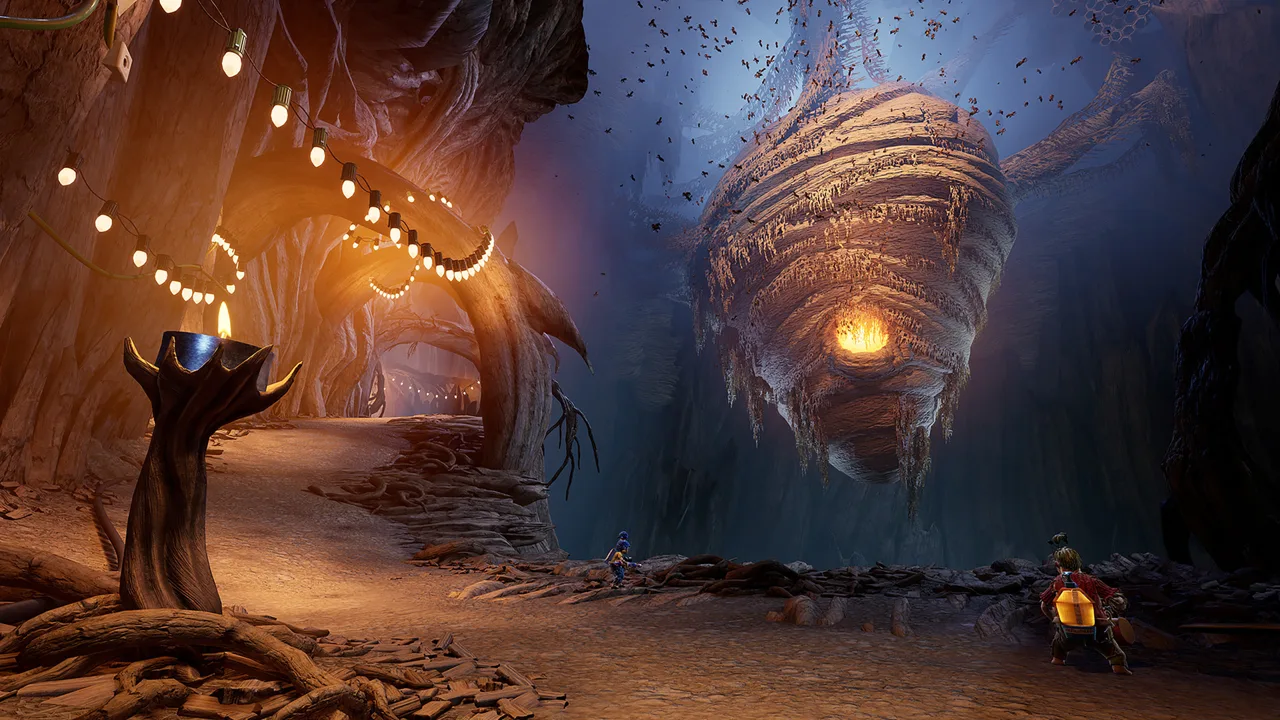 Image: Steam / Hazelight Studios
Once the platform appears, split up and operate both ends of the system:
- Move one player to the upper hose on the raised platform.
- Have the other player take the lower hose on the arena floor.
- Point the upper hose toward the vacuum.
- Sweep the lower intake toward the explosive mines.
- Keep the upper hose aimed at the boss as the collected explosives travel through.
This is the central damage mechanic for the It Takes Two vacuum boss. Collecting mines and aiming the output must happen together. If you both approach the same hose, separate and return to your assigned positions.
A successful damage window can remove roughly a quarter of the boss’s health. Use that as an estimate, and keep watching the health bar to judge how effectively your shots are landing.
For the player above, prioritize a steady aim. Resist the urge to watch every mine your partner collects; keep your attention on where the upper hose is sending them.
For the player below, focus on lining up the intake with the explosives. Let your partner manage the outgoing aim. Dividing your attention this way gives each player one clear responsibility during the part of the fight where both actions need to connect.
Jump the Retaliation Rings
After taking damage, the It Takes Two vacuum boss pounds the arena and sends expanding rings of air across the floor. Double-jump over them.
Watch the approaching edge of each ring and time your jump as it reaches your position. Avoid jumping immediately when the boss begins pounding if the wave is still far away; give yourself room to clear it when it arrives.
Once this retaliation ends, explosive mines return. Repeat the same hose routine rather than searching for a different way to attack.
Handle Shockwaves, Thumbtacks, and Falling Lint
The later sections of the It Takes Two vacuum boss add hazards to the same basic cycle. You still deal damage through the hoses, but the defensive stretches demand different responses.
After the second successful damage round, the vacuum pounds the ground more aggressively and introduces explosive thumbtacks. After the third, giant lint balls join its attacks.
| Attack | Tell to watch | Counter |
|---|---|---|
| Explosive mines | Mines thrown into the arena | Dodge them until the hose setup is available, then collect and redirect them |
| Expanding air rings | The vacuum pounds the arena and rings spread outward | Double-jump over the approaching rings |
| Explosive thumbtacks | Tacks land across wide strips of floor | Leave the strip, wait for the explosion, then move into the cleared area |
| Giant lint balls | Falling lint and growing shadows on the floor | Move out of the shadows before impact |
Move Through the Thumbtack Pattern
The thumbtacks require more than a jump over a single obstacle. They cover broad strips of the arena, explode, and continue falling elsewhere.
Follow the sequence:
- Move away from a strip when the thumbtacks land.
- Wait for those tacks to explode.
- Jump into the area that just cleared.
- Watch where the next strip lands and repeat.
The useful detail is the space left behind by an explosion. Keep track of that cleared ground while fresh tacks arrive in other areas.
Avoid rushing into a strip simply because you intend to cross it. Wait until its explosion has finished, then use that space to escape the next incoming section.
Call out “cleared” when you see the blast finish. That gives your partner a specific destination during a sequence where the available floor keeps changing.
Read the Lint Shadows
Later, the vacuum launches large balls of lint. You can see them falling, and their shadows grow on the arena floor.
Use those shadows to decide where to move. Step away from the marked landing area and keep checking the ground as you reposition.
Looking upward can help you notice the attack, but the shadow shows whether your current position is threatened. Prioritize getting your character onto clear floor.
Keep responding to each hazard by its own cue: jump the rings, move through cleared tack strips, and leave lint shadows. The added attacks change how you survive between hose windows; they do not replace the mine-return mechanic.
Exploit the Hose Weakness and Fix Missed Damage
The It Takes Two vacuum boss has a straightforward weakness: its explosive mines can be sent back through the paired hoses. Make every available damage window count by checking both ends of that setup.

If the health bar barely moves, talk through the two jobs separately. Have the upper player check their aim while the lower player checks whether the intake is collecting mines.
| Problem | What to check | Adjustment to make |
|---|---|---|
| Mines are being collected, but damage is poor | Upper hose direction | Keep the output pointed at the vacuum |
| Upper hose is aimed, but few explosives arrive | Lower intake direction | Sweep the intake toward the mines |
| Both players reach the same position | Hose assignments | Return one player to the lower intake and one to the upper hose |
| Thumbtacks keep catching you | Timing of movement into a strip | Wait for its explosion before entering |
| Falling lint keeps landing on you | Growing floor shadows | Move off the shadow before impact |
Keep corrections specific. “Aim higher” or “collect those mines” gives your partner something to change immediately. A general complaint about missing damage leaves both players trying to diagnose the same problem while the fight continues.
If one assignment feels awkward, switch roles on your next attempt. Tell each other before the hose section begins so you both know where to go.
For shockwaves, practice watching one approaching ring and clearing it with a deliberate double jump. For thumbtacks, watch the explosion before choosing your next destination. For lint, check the floor beneath your character.
These are separate timing problems. Work on the attack that is catching you instead of changing your entire approach after every mistake.
Finish the Vacuum Boss’s Final Eye Sequence
Emptying the health bar does not complete the It Takes Two vacuum boss fight. Once the vacuum stops attacking, its two hose arms fall into the arena.
Both players must grab a hose and aim it at the vacuum’s eyes. Follow the interaction prompts and repeatedly press the indicated button to finish the sequence.
| Finishing action | What each player does |
|---|---|
| Take a hose | Grab one of the fallen hose arms |
| Aim | Point the hose at the vacuum’s eyes |
| Complete the interaction | Repeatedly press the prompted button |
| Controller inputs | Use Y on Xbox controllers or Triangle on PlayStation controllers |
Keep aiming while completing the repeated presses. This finishing sequence pulls out the vacuum’s eyes and causes it to explode.
The final interaction still requires both players, so stay engaged when the health bar reaches empty. If your partner has grabbed a hose, take the other one and finish together.
For your next attempt, remember the encounter in order: return mines, clear the retaliation, repeat, then grab the fallen hoses. Within that cycle, let the attack cues guide your movement. The expanding rings, exploding tack strips, and growing lint shadows each tell you what to do next.
FAQ
How do you damage the It Takes Two vacuum boss?
Have one player suck up explosive mines with the lower hose while the other aims the upper hose at the vacuum. Both roles must work together to redirect the explosives into the boss.
How much health can you remove during a hose phase?
A successful hose phase can remove roughly a quarter of the vacuum’s health. Keep the upper hose aimed at the boss while the lower player collects mines to make use of the damage window.
How do you avoid the explosive thumbtacks?
Leave the strip where the tacks land and wait for them to explode. Then jump into that cleared area while watching for the next strip of incoming thumbtacks.
What do you do after the vacuum’s health bar is empty?
Each player must grab one of the fallen hose arms, aim at the vacuum’s eyes, and repeatedly press the interaction button. On Xbox controllers, use Y; on PlayStation controllers, use Triangle.
Continue with
 It Takes Two Bosses: Fight Strategies and Co-Op TipsBeat It Takes Two bosses with clear co-op strategies for Vacuum, Toolbox, Wasp Queen, Moon Baboon, and Joy. Learn attack counters and each player's role.
More in Bosses
It Takes Two Joy Boss Guide: Beat Every Phase Together
Beat the It Takes Two joy boss with phase-by-phase tips for Cody and May. Clear poison, dodge crushing plants, and remove infection to save Joy together.

It Takes Two Queen Wasp: Boss Fight Guide and Tips
Beat the It Takes Two queen wasp with coordinated sap attacks, smart rail movement, and clear counters for every phase. Learn how to break the final chain.
Continue exploring
It Takes Two Local Co Op: Easy Split-Screen Setup Guide
Set up It Takes Two local co op with PC and PS5 controller steps, split-screen tips, and answers about Friend's Pass. Start playing together on one screen.
It Takes Two Age Rating: What Parents Need to Know
Understand the It Takes Two age rating, language, fantasy violence, and emotional themes before choosing this co-op adventure for your family game night.
Join the community
Official channels for news, updates and player help: