
It Takes Two Bosses: Fight Strategies and Co-Op Tips
Beat It Takes Two bosses with clear co-op strategies for Vacuum, Toolbox, Wasp Queen, Moon Baboon, and Joy. Learn attack counters and each player's role.
Jump to
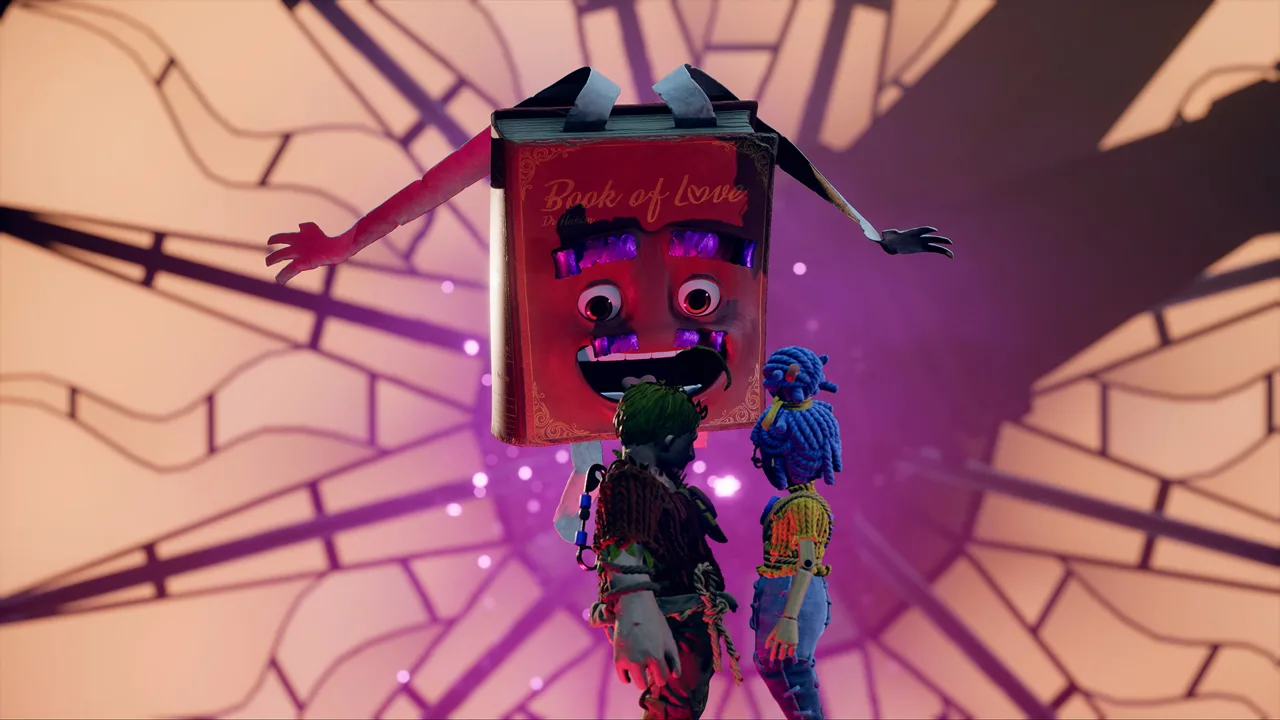
Preparing for It Takes Two Bosses
It Takes Two bosses can turn an ordinary household object into a serious test of your teamwork. Understanding which player creates an opening and which player exploits it helps you spend less time repeating attacks that accomplish nothing. This It Takes Two bosses guide walks through the major encounters, their attack patterns, and the coordinated actions that move each fight forward.
Your preparation starts with understanding your current abilities. Cody and May receive different tools throughout the adventure, and boss encounters build on those differences.
| Chapter | Cody’s tools or abilities | May’s tools or abilities |
|---|---|---|
| The Shed, Toolbox encounter | Throwable nails | Hammer |
| The Tree | Sap gun | Match launcher |
| Rose’s Room, space section | Growing and shrinking | Gravity boots |
| Cuckoo Clock | Time control | Cloning |
| Garden | Plant transformations | Water and sickle |
Before a fight, agree on short callouts such as “sap ready,” “arm pinned,” or “laser on me.” Describe the action your partner needs to take next.
For It Takes Two bosses that split your responsibilities, glance at your partner’s screen during transitions. Moon Baboon’s targeting sequence and the Toolbox’s launch sequence demand different actions from each player.
Boss and story spoilers follow.
Official page: It Takes Two (ea.com)
The Shed: Vacuum Tower and Toolbox
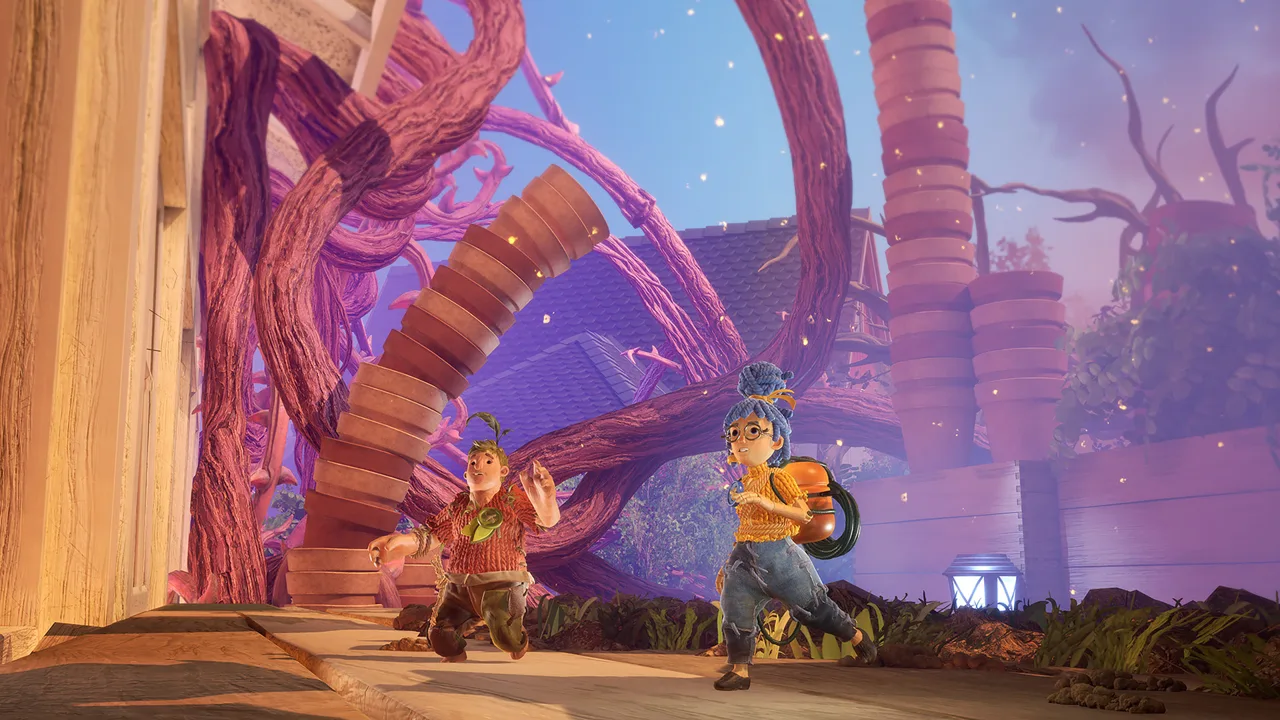 Image: Steam / Hazelight Studios
Vacuum Tower: Return the Explosive Canisters
Vacuum Tower teaches you to turn an enemy’s ammunition against it. The damage opportunity comes from operating the hoses together: one player collects explosive canisters through the intake while the other aims the output at the boss.
- Dodge the incoming explosives until you can operate the hoses.
- Assign one player to suction and the other to aiming.
- Send the canisters back into Vacuum Tower.
- Survive the next attack sequence and repeat when the canisters return.
Between damage windows, the boss slams the arena and creates expanding waves. Later attacks add explosive mine rows and flaming lint balls.
| Attack or opening | What happens | Your response |
|---|---|---|
| Explosive canisters | Ammunition enters the arena | Use the paired hoses to launch it back |
| Arena slams | Expanding waves spread outward | Watch the approaching waves and dodge |
| Mine rows | Strips of explosives fall onto the platform | Avoid a row, then move into its space after it explodes |
| Flaming lint balls | Additional hazards join the attack sequence | Keep moving while watching the other hazards |
Call out when you have collected ammunition so the aiming player is ready. During mine attacks, identify the row that just exploded before choosing your next position.
Toolbox: Pin the Arm, Then Break the Locks
The Toolbox combines nail throwing, hammer swings, and a shrinking arena.
When its arm sweeps across the platform, jump over it. Cody then pins the arm down and places nails in its wooden sections. May uses those nails as swing points to reach a lock and smash it with her hammer.
Repeat the setup for the remaining lock while avoiding nails, drill holes, and saw blades.
Once the arm comes off, the fight changes. The Toolbox cuts away parts of the platform and attacks with its remaining arm. May launches Cody upward during the coordinated opening, letting him throw nails at the aerosol can on top.
Check the platform after every cut. Keep Cody’s next launch and landing area in mind while positioning for another attempt.
The Tree: Wasp Fights, Giant Beetle, and Chief
The Tree’s It Takes Two bosses revolve around a consistent partnership: Cody applies sap, and May detonates it with matches. Coordinate your target before firing, especially when armor or shields restrict where you can deal damage.
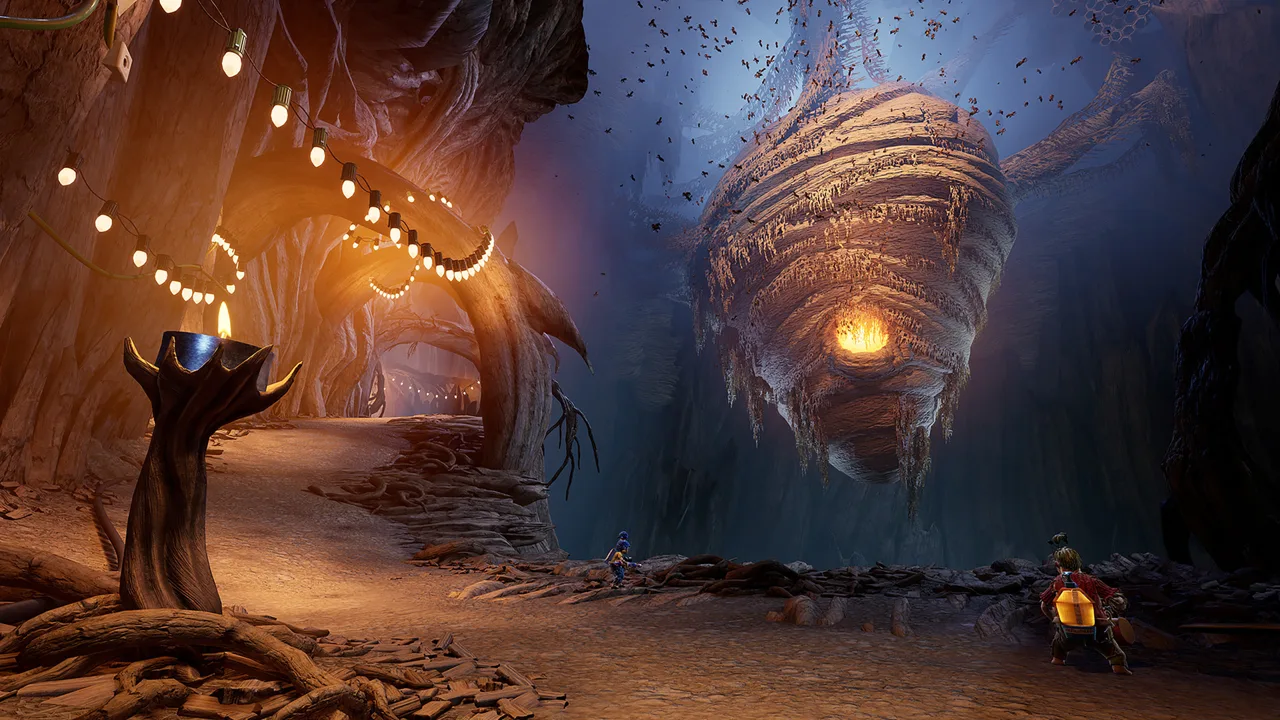 Image: Steam / Hazelight Studios
| Encounter | Opening to exploit | Coordinated action |
|---|---|---|
| Shield Wasp | Its exposed back after a charge | Dodge aside, apply sap from behind, then ignite |
| Mortar Wasp | The airborne enemy between bomb drops | Coat it with sap and detonate while avoiding explosives |
| Wasp Swarm | Its attacking formations | Dodge the formation, then combine sap and matches |
| Giant Beetle | A sap-filled grate beneath it | Lure it over the trap and ignite the sap |
| Wasp Queen | Armor sections and the final suspension chain | Destroy armor, then clear protection around the chain |
Shield Wasp, Mortar Wasp, and Wasp Swarm
Shield Wasp repeatedly charges one player before switching targets. The targeted player should dodge sideways; Cody needs access to the wasp’s back to apply sap.
Against Mortar Wasp, watch the falling green explosives while maintaining the same sap-and-match combination. Call out your target so May can detonate the sap Cody has already placed.
The Wasp Swarm forms shapes, including a hammer that slams the arena. Prioritize avoiding the slam before lining up another explosion. When the swarm blocks your route, continue combining both weapons to clear it.
Giant Beetle: Prepare the Floor
The Giant Beetle’s arena contains four grates. Cody fills them with sap, and May ignites that sap when the beetle moves over a prepared grate.
Set the trap before drawing a charge toward it. Tell your partner which grate you are using so both players can watch the same damage opportunity.
After the encounter, the beetle becomes an ally and carries Cody and May onward.
Wasp Queen: Armor, Formations, and Rails
The Wasp Queen has four armor sections: two in front and two behind. Cover each section with sap and detonate it. Adjust your position to reach the rear armor instead of repeatedly attacking the front.
As the fight develops, the swarm drops explosive formations and sweeps across the arena as scissors. During the overhead view, watch the shapes crossing the floor and move through their gaps.
The final sequence takes place on a circular rail after the arena falls away. Clear the swarms protecting the suspension chain, then attack the chain to finish the encounter.
Chief: Keep Both Jobs Moving
Chief confronts May on top of the makeshift plane while Cody pilots.
May must avoid his tail sweep and projectile attack while fighting back. Cody must steer around obstacles throughout the duel.
Use separate callouts for the two jobs. May needs space to read Chief’s attacks, while Cody needs to communicate any immediate flight hazard.
Rose’s Room: Moon Baboon and Giant Octopus
Rose’s Room changes mechanics repeatedly, and its It Takes Two bosses follow suit. Moon Baboon shifts between arena hazards, size-changing tasks, and a vehicle pursuit. Giant Octopus puts both players aboard a toy ship.
Moon Baboon: Solve Each Stage Separately
Start by identifying who the laser is tracking. That player guides it toward a raised pylon while the other activates the glowing floor button.
| Stage | Required action | Coordination tip |
|---|---|---|
| Tracking laser | Raise a pylon and guide the laser into it | Call out who is being targeted |
| Grounded UFO | Cody grows and lifts the ship so May can remove the laser | Confirm Cody has lifted it before May acts |
| Rockets | Ride a grounded rocket back toward Moon Baboon | Track where rockets land |
| Ship interior | Cody shrinks, enters the UFO, and reaches the eject control | Follow the new objective after the transition |
| Final pursuit | May pilots while Cody uses the radar and laser | Share the target’s position clearly |
Avoid carrying the previous stage’s solution into the next one. Once rockets appear, focus on the grounded missiles you can ride.
During the final pursuit, Cody’s radar information matters to May’s steering. Give brief directional instructions and keep Moon Baboon in view long enough to land shots.
Giant Octopus: Clear the Threats Around the Ship
The Giant Octopus attacks during a toy-ship sequence built around cooperative steering and cannon fire.
When tentacles appear, shoot them. During the whirlpool section, the octopus disappears while tentacles send explosive rubber ducks toward the ship. Destroy those ducks before returning your attention to the main body.
When the octopus resurfaces alongside multiple tentacles, clear the tentacles and then fire at the exposed body. Repeat that sequence until the fight ends.
Call out the nearest incoming duck before choosing another target. Keep both players focused on immediate hazards while the ship is trapped in the whirlpool.
The Castle Encounters
Rose’s Room also includes a dungeon-crawler section and an animated chessboard encounter. On the chessboard, watch the threatened squares and move away from incoming attacks.
Treat each change in perspective as a prompt to reassess your movement and available abilities. The space section’s solution does not carry through the rest of the chapter.
Later Bosses: Clockwork Bull and Joy
Later It Takes Two bosses test abilities tied to time, cloning, and plant transformations. Watch for the moment when your powers can redirect an attack or expose something your partner can remove.
Clockwork Bull: Use May’s Clone as an Escape Point
The Clockwork Bull encounter uses May’s cloning ability to turn its charge against the environment.
- Place May’s clone near the statue involved in the charge setup.
- Position May to draw the bull toward the statue.
- Let the bull commit to its charge.
- Teleport away at the last moment so the bull crashes into the statue.
Check your clone’s position before drawing another charge. Line up the bull’s path with the statue before committing to the bait.
The key is the charge direction: escaping safely only completes part of the setup. The collision is what advances the fight.
Joy: Clear the Infection
Joy’s fight centers on curing the corruption affecting her. May washes away poisonous purple sludge while Cody uses his changing forms to attack infected growths.
The encounter moves through tomato, potato, and lime forms. Keep reassessing Cody’s current actions as the fight changes.
- Tomato: Use Cody’s dash against corrupt bulbs while May clears sludge.
- Potato: Use the form’s ground-slam attacks and watch the rising pot lids during shockwave hazards.
- Lime: Roll and dash while May clears the route.
The fight also sends Cody inside Joy to cut away infection. May and Cody must coordinate around exposing and removing corrupted areas.
Call out spreading sludge early so May can wash it away. Keep the route clear before Cody commits to his next movement or attack.
Boss Weaknesses and Encounter Outcomes
Across It Takes Two bosses, the useful weakness is often a mechanical opening: exposed armor, redirected ammunition, or an environmental trap. Watch what becomes available after an attack instead of firing continuously at the boss.
| Boss | Weakness or opening | What completing the encounter does |
|---|---|---|
| Vacuum Tower | Its explosive canisters can be returned | Defeats the vacuum |
| Toolbox | Arm locks and the aerosol can | Destroys the Toolbox |
| Giant Beetle | Sap detonated beneath it through grates | Turns the beetle into an ally |
| Moon Baboon | Pylon setup, rockets, and final pursuit | Ends his attack and leads to an agreement to help |
| Joy | Corruption that Cody and May can remove together | Restores Joy |
Use failed attempts to refine one action at a time. Adjust the charge alignment, agree on the next sap target, or shorten your targeting callouts. Make the next attempt answer a specific problem.
FAQ
How do you beat It Takes Two bosses?
Use Cody and May’s complementary abilities together. Some encounters require direct combinations, such as sap and matches, while others require one player to create an opening for the other.
What is the first boss in It Takes Two?
Vacuum Tower is the first boss. Operate the paired hoses together to send explosive canisters back at it while surviving its arena attacks.
Does Moon Baboon appear at the end of Rose’s Room?
Moon Baboon appears in the space portion of Rose’s Room. The chapter continues afterward, including the pirate-ship encounter with Giant Octopus and the castle sections.
Do you defeat Joy by destroying her?
You cure Joy by removing her infection. May clears poisonous sludge, and Cody uses his transformations and attacks to remove corrupted growths.
Continue with
 It Takes Two Joy Boss Guide: Beat Every Phase TogetherBeat the It Takes Two joy boss with phase-by-phase tips for Cody and May. Clear poison, dodge crushing plants, and remove infection to save Joy together.
More in Bosses

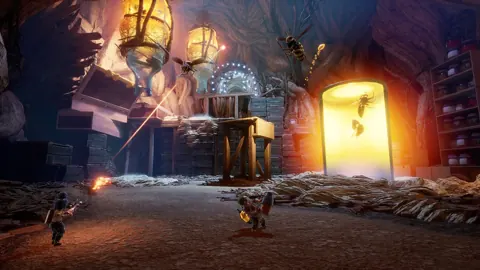
It Takes Two Queen Wasp: Boss Fight Guide and Tips
Beat the It Takes Two queen wasp with coordinated sap attacks, smart rail movement, and clear counters for every phase. Learn how to break the final chain.
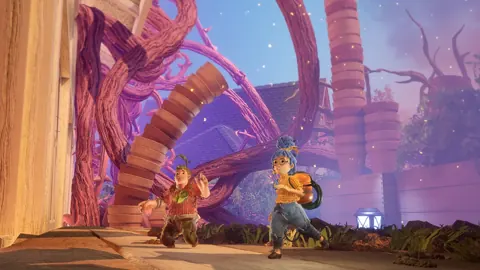
It Takes Two Vacuum Boss: Complete Co-Op Fight Guide
Beat the It Takes Two vacuum boss with clear co-op roles, mine-return tactics, and tips for dodging shockwaves, explosive tacks, and falling lint. Team up!
Continue exploring
Join the community
Official channels for news, updates and player help: