
It Takes Two Walkthrough: Shed Puzzles and Boss Guide
Follow It Takes Two walkthrough to solve the Shed's co-op puzzles, master Cody and May's tools, and defeat the Vacuum Tower and Toolbox with your partner.
Jump to
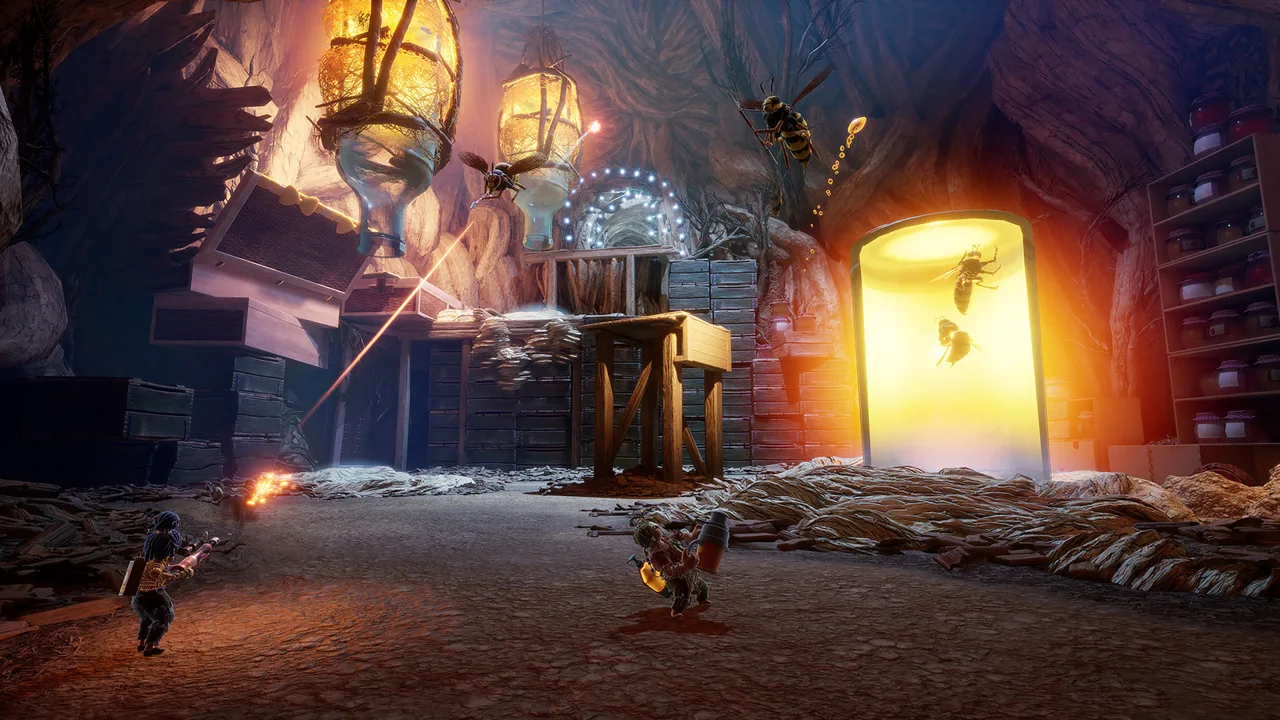
A runaway fuse, shifting air currents, and an angry toolbox make the Shed a crash course in working together. This It Takes Two walkthrough takes you through its puzzles and boss fights, with clear jobs for both partners. Keep this It Takes Two walkthrough handy when a platform needs holding, a hose needs aiming, or Cody’s nails disappear into the wrong mechanism.
The route below covers the opening Shed chapter through its wire-riding finale. Choose either Cody or May: both receive abilities that help the other character advance. For online play through Friend’s Pass, the host needs the full game, and the joining player needs Friend’s Pass and an applicable platform account on the same platform.
The Shed: Restore Power and Chase the Fuse
Start this It Takes Two walkthrough at the generator. The opening chase introduces movement and shared switches before Cody and May receive their separate tools.
| Area | Objective | Objects to use |
|---|---|---|
| Generator | Recover and replace the fuses | Loose fuses and generator |
| Upper boxes | Open the route forward | Glass jar and red buttons |
| Grated passage | Continue the fuse chase | Paint can |
| Final stretch | Retrieve the runaway fuse | Electrical socket and circular saw |
Recover the Fuses
- Interact with the generator lever. Two fuses pop loose nearby, while another runs away. Replace the nearby fuses, then follow the escapee.
- Climb the boxes and break the glass jar. Jump above it and use the ground-pound prompt.
- Activate the red buttons together. Each player takes a button. Trigger them simultaneously, then grab the rotating disk to climb higher.
- Use a double jump and dash to cross gaps. Practice the sequence here before the later moving platforms demand tighter timing.
- Push the paint can to the right. Use the repositioned can to continue past the grate.
- Ground-pound the electrical socket and interact with the circular saw. Follow the route to the missing fuse, pick it up, and return to the generator.
Call out “ready” before pressing paired buttons. Watching your partner’s half of the split screen helps you see whether they have reached their position.
After the vacuum cleaner cutscene, follow the suction pipes into the next area. When a pipe’s exit points downward, a player must lift and hold it while the other travels through. Keep holding until your partner has cleared the crossing.
Official page: It Takes Two (ea.com)
The Shed: Airflow Puzzles and the Vacuum Tower
The next part of this It Takes Two walkthrough revolves around redirecting air. Divide the work between operating a mechanism and crossing the obstacle, then switch responsibilities when the route allows your partner through.
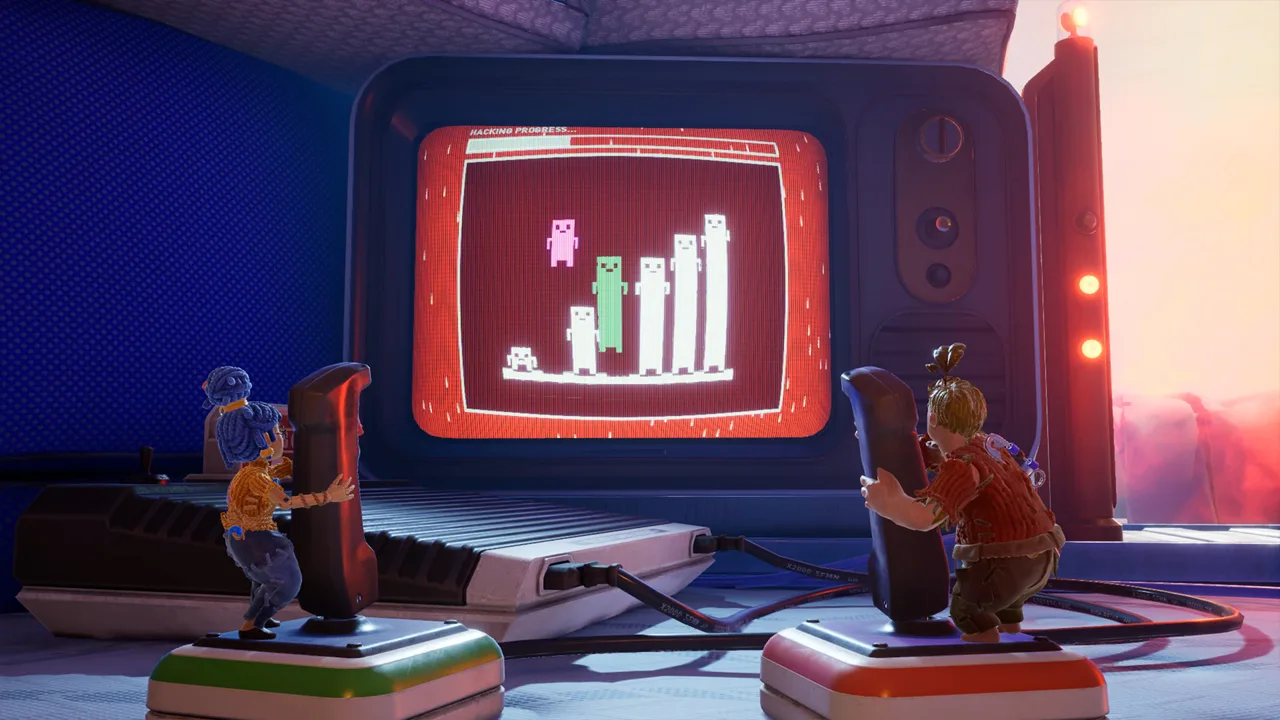 Image: Steam / Hazelight Studios
Work Through the Fans and Electrical Gaps
- Use the two-pipe device to reach both switches. Help your partner access one side, then the other. Activating both buttons starts the suction needed to climb higher.
- Pull aside the spring-loaded panel near the fan. Your partner can pass through and move the pipe powering the blades. Join them while the fan is stopped.
- Complete the broken electrical circuit. A player holds the first wire gap after the power button. The other presses the button and moves to the second gap. Once the current passes through the first player, that player must run to the third gap and grab it.
- Rotate the large fan blades with the wheel. Position them so your partner can cross. On the far side, they press the button that starts automatic rotation.
- Coordinate the fan corridor. A player operates the lever while the other moves through the passage behind the glass. Green fans blow air outward; the red fan draws air inward.
For the circuit puzzle, name your positions before starting: “first gap,” “second gap,” and “third gap.” The player covering two gaps needs to move after the electrical pulse passes through them.
Cross the Moving Platform and Timed Pipe
At the next paired fans, leave a player at the lever. Switch the airflow to let the other cross. The player across then uses the hose to move a platform for their partner.
Continue with the timed pipe sequence:
- Position the traveling player at the temporary platform beside the pipe.
- Have the other player press the red button to bring the platform out.
- Jump into the pipe.
- Move the operating player to the opposite pipe end and lift it, launching their partner upward.
- Press the button across the gap to reverse the airflow and bring the remaining player through.
Next, vacuum up the red balls while your partner aims the outlet at the platform. Their weight moves it into position so you can cross and drop into the boss arena.
Defeat the Vacuum Tower
| Fight moment | Player at the intake | Player at the outlet |
|---|---|---|
| Canisters land in the arena | Avoid the attack and approach the lower pipe | Move toward the raised platform |
| Platform rises | Suck up the scattered canisters | Climb up and aim the outlet at the boss |
| Boss reaches critical health | Approach a boss hose and follow the prompt | Approach the other hose and follow the prompt |
The damage sequence depends on both ends of the pipe. Sucking up canisters feeds the attack, while the player above directs them into the Vacuum Tower.
Repeat that sequence until the finishing interaction appears. Move to the boss’s hoses and follow the on-screen prompts together.
If canisters are being collected without hitting the boss, coordinate the outlet aim before feeding more through.
The Depths: Solve Cody’s Nail and May’s Hammer Puzzles
After the vacuum fight, Cody gains throwable nails and May gains a hammer. This section of the It Takes Two walkthrough uses those tools together: Cody pins mechanisms in place and creates swing points, while May strikes switches and swings across gaps.
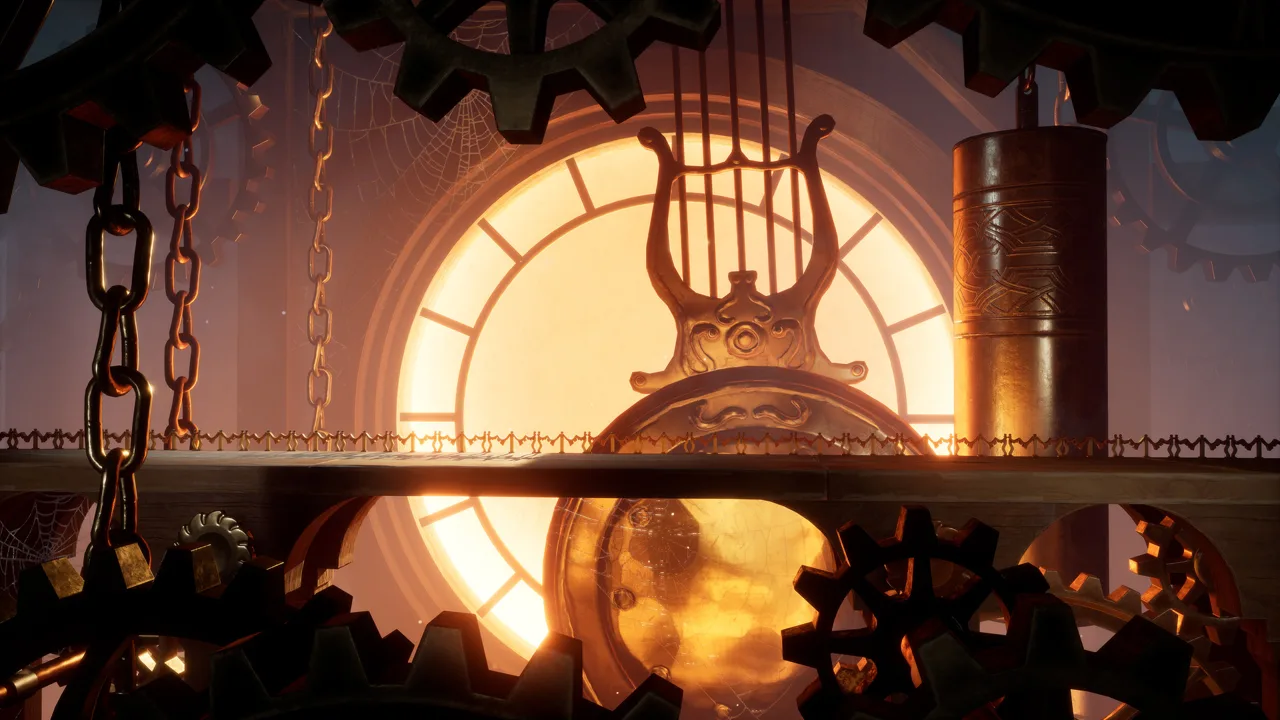 Image: Steam / Hazelight Studios
| Obstacle | Cody’s action | May’s action |
|---|---|---|
| Raised platform | Cross, then pin the platform through its opening | Strike the yellow control |
| Yellow wooden surfaces | Place nails as swing points | Hook onto the nails with the hammer |
| Paired platforms | Pin them at different heights | Raise them with hammer strikes |
| Linked door | Pin it open after the platform lowers | Stand on the hanging platform |
| Vertical platform climb | Activate the left platform, then the right | Grab each platform to climb |
Raise and Pin the Platforms
- Have May strike the yellow control. Cody crosses while the platform is raised.
- Raise it again and pin it. Cody throws a nail into the designated opening to hold the platform in position.
- Create May’s swing route. Throw nails into the yellow wooden surfaces, then have May use her hammer to swing between them.
- Bring Cody forward. May operates the hammer mechanism on her side to raise the next platform.
- Arrange the paired platforms. Raise and pin them with the left platform slightly higher than the right so both characters can climb.
Keep the next landing point in view before May leaves a swing point. Give her time to land before moving a nail that supports her route.
Open the Door and Cross the Saw Section
Help May reach the hanging platform. Her weight lowers it and opens the linked door; Cody then pins the door open. Use another nail to secure the next platform and continue.
The following stretch keeps May moving while Cody fixes platforms into place. Once she reaches the far side, Cody stands on the yellow platform and May strikes it to launch him onward.
At the moving circular saw:
- Wait until the saw begins traveling away from Cody.
- Run toward the platform around the middle of the route.
- Have May strike the platform from the opposite side to lift Cody.
Call out when Cody reaches the platform so May can time the hammer strike.
Recall the Correct Nail
Nail management matters throughout this It Takes Two walkthrough. To retrieve a particular nail, bring it into Cody’s view before using recall. Otherwise, recall returns the last nail placed.
Before retrieving one, check which platform it holds. Keep May’s current support secured while preparing the next part of her route.
At the two vertical platforms, activate the left one first. May grabs it, then Cody activates the right so she can climb higher. Continue toward the Toolbox, avoiding falling nails along the approach.
The Shed: Defeat the Toolbox
The Toolbox fight brings the hammer-and-nail partnership into a boss arena. Follow this It Takes Two walkthrough by separating the fight into two jobs: May breaks the locks, then Cody attacks the canister on top.
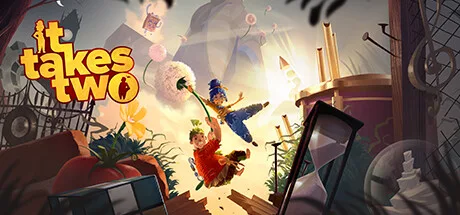 Image: Steam / Hazelight Studios
| Phase | What to watch for | Required response |
|---|---|---|
| Locked Toolbox | An arm slams onto the platform | Cody pins the arm and places swing-point nails |
| Lock-breaking route | Wooden inserts along the arm | May swings across and breaks a lock |
| After the first lock | Platform holes and a saw attack | Avoid the hazards and repeat the arm sequence |
| Final phase | The shovel hand lowers onto the platform | Cody boards it; May strikes the yellow control |
| Cody’s launch | Canister on top of the Toolbox | Throw nails into the canister |
Break Both Locks
- Watch for the arm slam. When the arm lands, Cody pins it in place.
- Use the wooden inserts as nail targets. Set up the route May needs to reach the Toolbox.
- Send May across. Swing along the nails with the hammer and smash a lock.
- Repeat for the remaining lock. After the first breaks, watch for holes appearing in the platform and the boss’s saw attack.
Keep the swing route intact until May finishes crossing. Move around the damaged floor while waiting for another opening.
Launch Cody at the Canister
Once both locks are broken, dodge the shovel and falling nails until the shovel hand lowers onto your platform.
Cody climbs aboard, then May strikes the yellow control to launch him. While airborne, Cody throws nails into the canister on top of the Toolbox. Repeat the launch and attack sequence until it is destroyed.
Before May strikes, have Cody confirm he is standing on the hand. Aim toward the top of the Toolbox during the launch so the canister is in view.
The Shed: Finish the Wire-Riding Section
The final stretch of this It Takes Two walkthrough shifts from hammer puzzles to traveling along wires.
- Follow the wires through the area. Use them to move between sections.
- Stop at the paired controls near fans. Position both characters before activating them.
- Press the buttons simultaneously. Deactivate the fans together and continue along the route.
Keep using the same short callouts that helped with the generator buttons. Identify the next control, get both players ready, and count down before pressing.
The Shed’s recurring puzzle pattern is useful here: one character prepares the route, and the other uses that opening. Watch both halves of the screen to see when your partner needs you to hold, move, or activate something.
FAQ
Does this It Takes Two walkthrough cover the entire game?
This It Takes Two walkthrough covers the opening Shed chapter, including the fuse chase, airflow puzzles, Vacuum Tower, hammer-and-nail sections, Toolbox fight, and wire-riding finale.
Should I choose Cody or May?
Choose either character. Their abilities change throughout the adventure. In the Shed’s tool section, Cody throws nails to secure mechanisms and create swing points, while May uses a hammer to strike controls and swing across gaps.
How do I recall a specific nail as Cody?
Bring the nail you want into Cody’s view, then use recall. Without targeting a particular nail, recall retrieves the last one placed. Check which mechanism the nail supports before removing it.
Do both players need to buy It Takes Two?
For the full adventure through Friend’s Pass, the host must own the game. The joining player needs Friend’s Pass installed and an applicable platform account, and online play requires a partner on the same platform.
Continue with
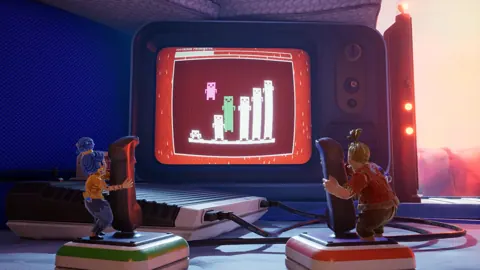 It Takes Two Age Rating: What Parents Need to KnowUnderstand the It Takes Two age rating, language, fantasy violence, and emotional themes before choosing this co-op adventure for your family game night.
More in Guide
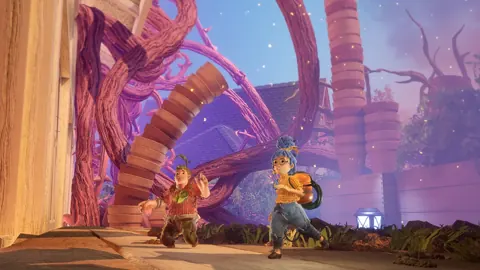
It Takes Two How Long to Beat? Story and Co-Op Times
It Takes Two how long does it take to beat? Explore story length, co-op playtime, completion estimates, and tips for planning the adventure with a partner.
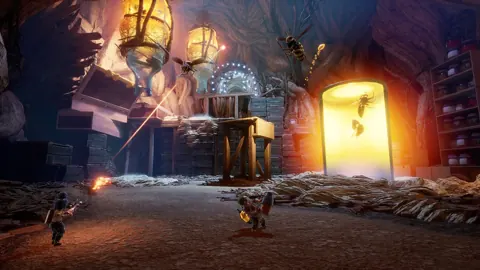
It Takes Two Sequel Guide: Split Fiction Explained
Looking for an It Takes Two sequel? Explore Split Fiction, its release dates, platforms, crossplay, and Friend’s Pass before your next co-op game night.
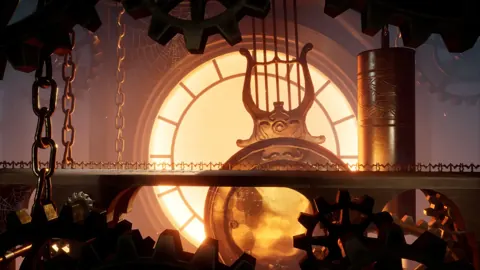
It Takes Two Similar Games: 12 Co-Op Picks to Play
Explore It Takes Two similar games for smart puzzles, emotional stories, and couch co-op chaos. Find your next adventure to share with a friend or partner.

It Takes Two vs Split Fiction: Which Should You Play?
It Takes Two vs Split Fiction: compare co-op mechanics, story, pacing, and side activities to choose the right adventure for you and your gaming partner.
Continue exploring
Join the community
Official channels for news, updates and player help: