It Takes Two Ice Bridge Magnets: Step-By-Step Guide
Solve the It Takes Two ice bridge magnets puzzle with clear Cody and May roles, bridge alignment steps, and tips for crossing Snow Globe's tricky gaps.
Jump to
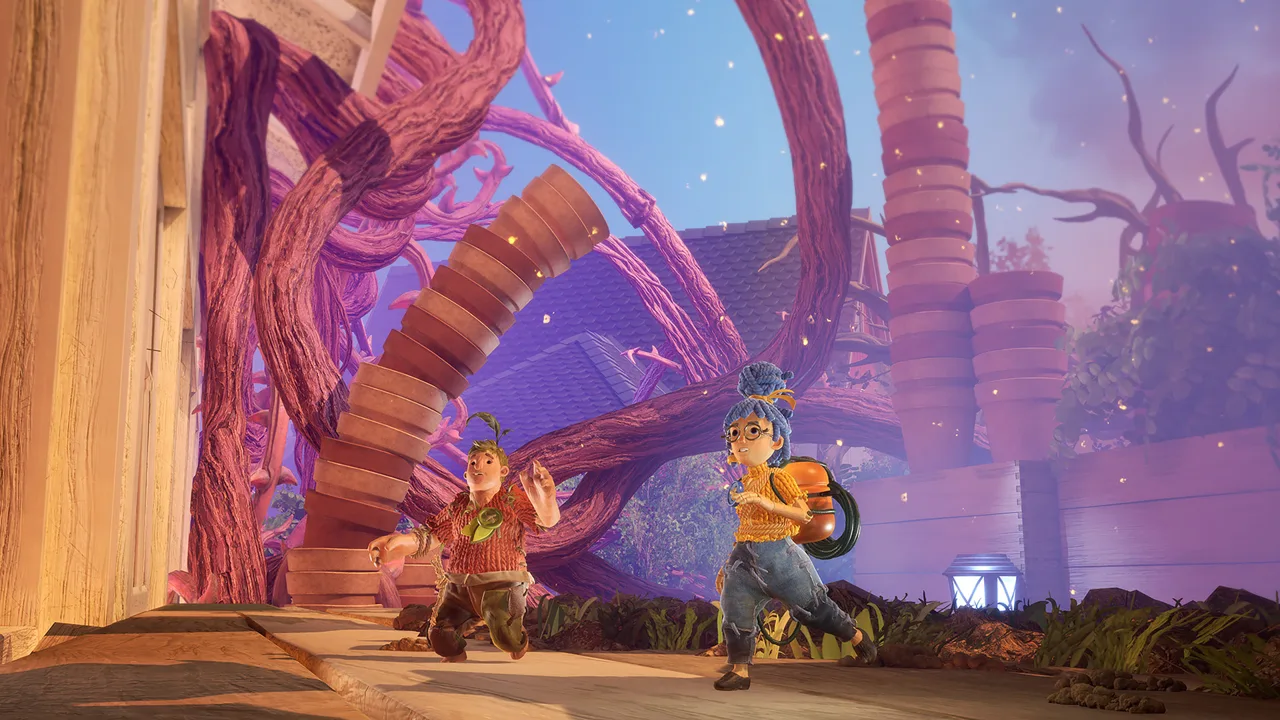
How to Solve the Split Bridge in Warming Up
Stuck with two bridge halves that won’t line up? The It Takes Two ice bridge magnets puzzle requires Cody to position the near section, May to hold it steady, and Cody to pull the far section toward him. Solving the It Takes Two ice bridge magnets puzzle comes down to handing control between players so Cody can move onto the bridge.
You’ll encounter this obstacle in Warming Up, the opening section of the Snow Globe chapter. Look for a large gap with two disconnected bridge sections after climbing a wall. If you’re looking at a smaller bridge that simply lowers, see the earlier bridge solutions below.
Step 1: Have Cody push the near bridge into position
Move Cody to the left side of the near bridge section. Use his magnet to push the bridge until it points straight ahead across the gap.
Watch the bridge’s orientation as you move it. Your immediate goal is to line up the section Cody will walk along. Leave the far section for the next part of the solution.
Have May get ready on the right while Cody keeps the near section aligned.
Step 2: Have May hold the bridge from the right
Move May to the right side of the bridge and activate her magnet to hold it in place.
This is the crucial handoff. Cody needs to stop operating the near section so he can walk onto it, while May maintains its position.
Use a short callout before releasing Cody’s magnet: “Holding” tells Cody that May has taken over. Keep watching both sides of the split screen so you can see the bridge and each character’s position.
Step 3: Walk Cody to the end
Once May is holding the bridge, release Cody’s magnet and walk him along the aligned section.
Keep May’s magnet engaged during this movement. Cody’s next interaction happens from the end of the bridge, so take the time to get him into position before trying to move the distant half.
Step 4: Pull the far bridge section toward Cody
At the end, use Cody’s magnet to pull the other bridge section toward the one he is standing on.
Completing this action triggers a cutscene. Afterward, the game moves into an ice-skating stretch that leads toward Winter Village.
| Part of the solution | Cody’s action | May’s action |
|---|---|---|
| Position the near section | Push from the left until it points forward | Move to the right side |
| Hand over control | Maintain alignment until May takes over | Hold the bridge with her magnet |
| Reach the endpoint | Release his magnet and walk to the end | Continue holding the near section |
| Connect the sections | Pull the far section toward him | Maintain her position |
The essential sequence for the It Takes Two ice bridge magnets puzzle is push, hold, walk, pull. Say those actions aloud if you keep losing track of whose turn it is.
Official page: It Takes Two (ea.com)
Understand Cody and May’s Magnet Colors
Cody carries the red magnet, while May carries the blue magnet. Throughout Snow Globe, opposite colors attract and matching colors repel.
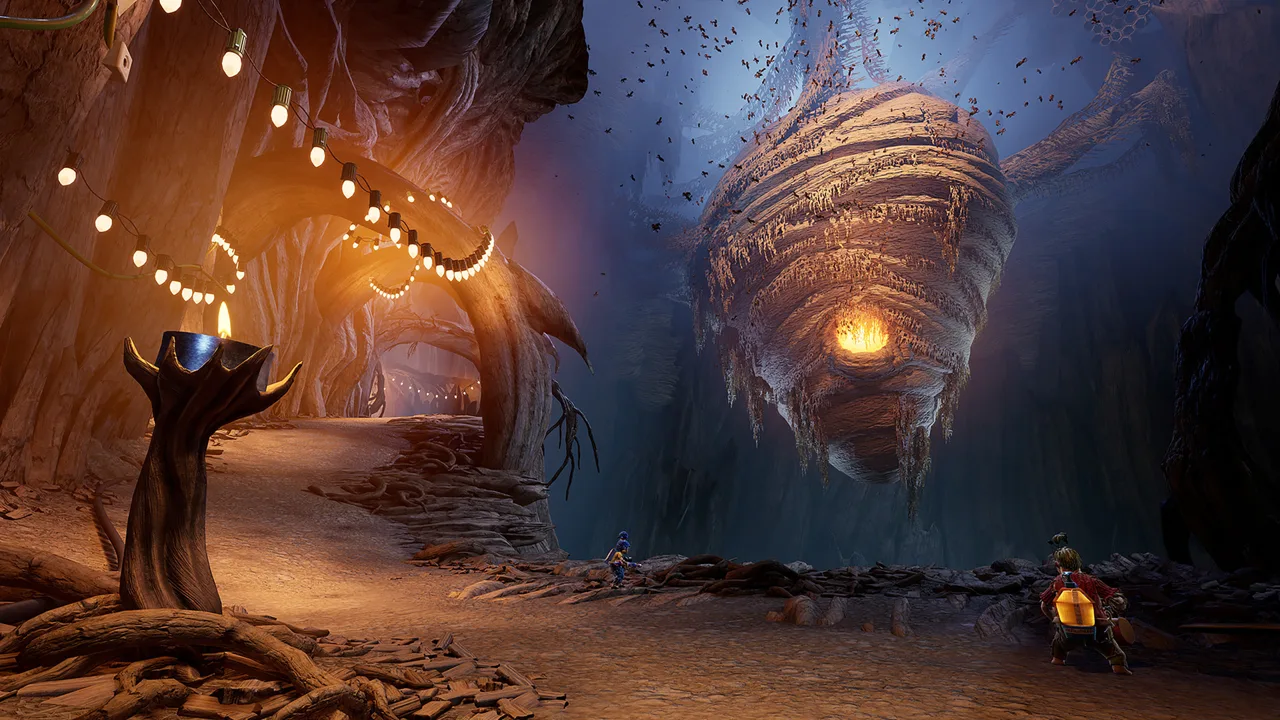 Image: Steam / Hazelight Studios
That rule determines whether an interaction pulls something closer, pushes it away, or propels your character from a magnetic surface.
| Character | Magnet color | Red target | Blue target |
|---|---|---|---|
| Cody | Red | Repels | Attracts |
| May | Blue | Attracts | Repels |
For movable objects, attraction lets you pull and repulsion lets you push. Magnetic circles also use these relationships: an opposite-color circle can draw a character toward it, while a matching-color circle can launch that character away.
When solving the It Takes Two ice bridge magnets encounters, check both the target’s color and your character’s position. The split bridge asks Cody to work from the left and May from the right, making their locations part of the solution.
Use the object’s movement to keep track of what you’re doing. Call out “pushing the near bridge” or “holding from the right” rather than simply saying “using my magnet.” Specific callouts give your partner something useful to respond to.
Keep these distinctions in mind:
- Pulling an object: An opposite-color interaction draws the object toward the character.
- Pushing an object: A matching-color interaction repels the object.
- Pulling toward a circle: An opposite-color circle draws the character across.
- Launching from a circle: A matching-color circle propels the character away.
Practice reading the colors on the early obstacles. Those same relationships carry through the saw, catapult, rotating circles, and later mountain crossings.
Solve the Earlier Magnetic Bridges
Several Warming Up obstacles involve bridges or wooden platforms. Identify the structure in front of you before applying the split-bridge sequence.
The It Takes Two ice bridge magnets route introduces these interactions gradually, with Cody and May repeatedly helping each other reach the next position.
The wooden platform and suspended crossing
After the opening door, head right to the rectangular wooden platform. Have Cody stand on it, then use May’s magnet to push it up toward the ledge.
Once Cody reaches the upper position, place May on the platform. Cody can then pull it toward him to bring her up.
The next crossing uses a suspended piece of wood:
- Grapple across to the left.
- Have Cody grapple onto the wooden piece.
- Use May’s magnet to push Cody and the wood across.
- Once Cody is on the other side, have May grapple onto it.
- Use Cody’s magnet to push the wood toward his side.
Follow the movement of the platform while your partner operates it. Finish each transfer before moving on to the bridge interaction.
The bridge you lower for each other
After that suspended crossing, Cody must pull a bridge down so May can cross.
Once May reaches the other side, she uses her magnet to push the bridge down for Cody. This is another change of operator: the player who crosses first takes responsibility for bringing the other player through.
The bridge near the rotating magnetic circles
Farther along Warming Up, you’ll reach a building with rotating magnetic circles. After the sequence involving the blue handle and the changing circle orientation, both characters can reach the upper floor.
At the top, May pushes down the bridge with the blue wooden piece, allowing both characters to continue.
| Obstacle | Required action | Next movement |
|---|---|---|
| Wooden platform after the door | May pushes Cody up; Cody pulls May up | Both reach the ledge |
| Suspended wooden piece | May pushes Cody across; Cody pushes May across | Both reach the far side |
| Earlier lowering bridge | Cody pulls it down, then May pushes it down | Each crosses in turn |
| Upper bridge in the building | May pushes down the blue wooden piece | Both continue across |
| Two disconnected bridge halves | Cody positions, May holds, Cody pulls the far half | A cutscene begins |
Use the surroundings to distinguish these puzzles. The disconnected bridge comes after the wall climb and has a visible gap between its two sections.
Fix a Bridge Attempt That Keeps Going Wrong
If the It Takes Two ice bridge magnets puzzle keeps leaving you in the same position, check the control handoff before trying a different jump.
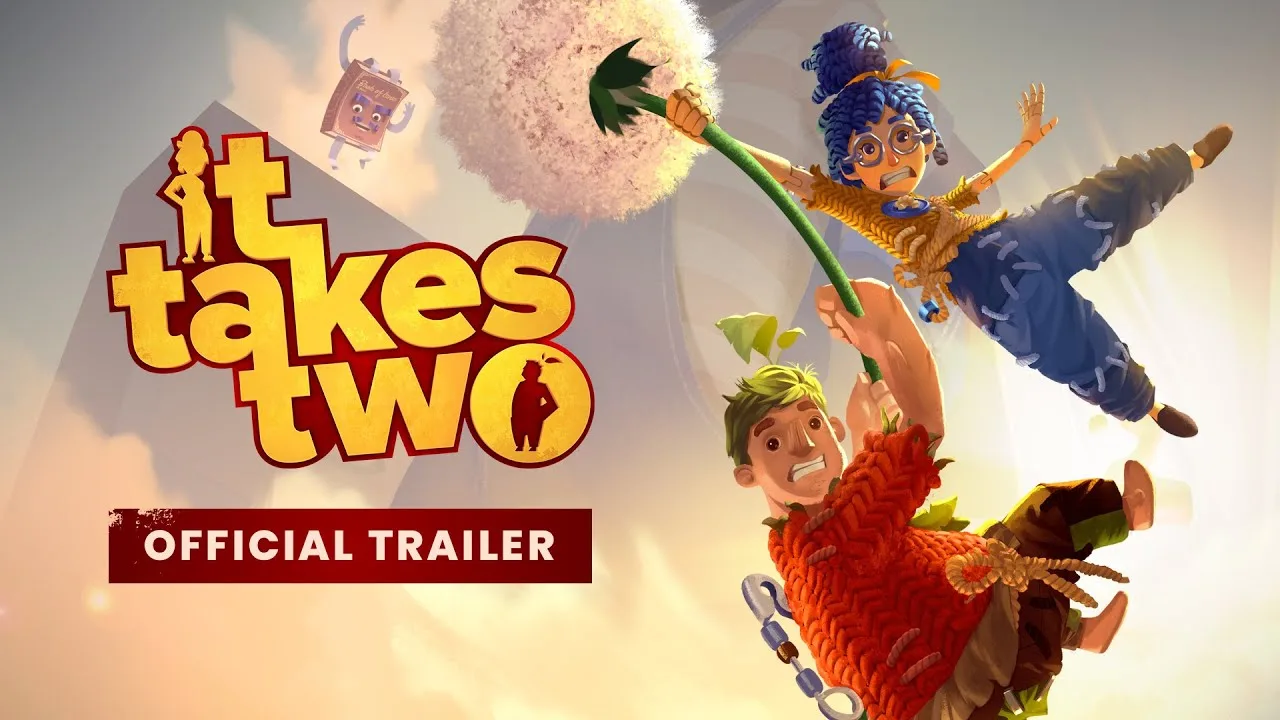
Focus on one action at a time. Watch Cody align the near bridge, confirm that May is holding it, and then move Cody to the endpoint.
| Where you get stuck | What to check | What to do |
|---|---|---|
| Cody is still beside the near bridge | Has May taken over holding it? | Engage May’s magnet from the right before Cody releases |
| The near bridge points away from the crossing | Has Cody finished positioning it? | Push from the left until it points straight forward |
| Cody cannot begin the final pull from his current position | Has he reached the end of the near section? | Keep May holding while Cody walks to the endpoint |
| You are following the wrong sequence | Is this a lowering bridge or two separate halves? | Match the obstacle to its solution above |
Make the handoff explicit
Call out the sequence in complete actions:
- Cody: “Bridge is lined up.”
- May: “I’m holding it.”
- Cody: “Walking to the end.”
- Cody: “Pulling the other half.”
These callouts follow the puzzle’s required order and give each player a clear task. Keep May focused on holding while Cody handles the movement and final pull.
Watch the bridge as well as your character
Use your partner’s screen to check their position. Cody needs to know when May is ready; May needs to know when Cody has reached the end.
Avoid changing several things at once during a retry. Reestablish the bridge’s alignment, make the handoff, and then continue. This makes it easier to spot which step needs attention.
Handle the Later Ice Gaps in Slippery Slopes
The later It Takes Two ice bridge magnets encounters introduce a different kind of cooperation. During Slippery Slopes, Cody and May gain stronger magnetic attraction and can pull themselves toward each other.
Keep that later ability separate from the Warming Up bridge solution. At the disconnected wooden bridge, your job is to move the bridge sections. Later, the characters themselves become part of the crossing.
Cross gaps with your partner’s attraction
After the stronger attraction is introduced, destroy the ice between Cody and May and continue up the bridge.
When you reach magnetic circles, have either character launch across using the circles. The other player can then use attraction toward their partner to clear the gap.
At the larger gap with paths leading left and right, place the characters at opposite ends. Activate both magnets at the same time to bring Cody and May together in the center.
Count down together before activating. This gives both players a shared moment to perform the required action.
Stay connected during the mountain winds
Farther up the mountain, strong winds make the X-shaped magnetic anchors essential.
Use the opposite-color character to attach to the anchor:
- Blue X magnet: Cody attaches to it, and May attaches to Cody.
- Red X magnet: May attaches to it, and Cody attaches to May.
Move between these anchors as you climb. When the route prompts you to crouch, continue right while crouched until you reach the red X magnet.
Read the next anchor’s color before deciding who takes the lead. The character attached to the mountain provides the connection the other player needs during the wind.
FAQ
How do you solve the It Takes Two ice bridge magnets puzzle?
Have Cody push the near bridge from the left until it points straight ahead. May then holds it from the right. Cody releases his magnet, walks to the end, and pulls the far bridge section toward him.
Which magnet colors do Cody and May have?
Cody has the red magnet, and May has the blue magnet. Opposite colors attract, while matching colors repel. Use those relationships to pull objects, push mechanisms, and travel between magnetic circles.
Where is the bridge with two disconnected halves?
It is in Warming Up, the opening section of Snow Globe, after a wall climb. Completing the It Takes Two ice bridge magnets puzzle triggers a cutscene, followed by an ice-skating stretch leading toward Winter Village.
How do you cross the later gap with paths on both sides?
During Slippery Slopes, place Cody and May at opposite ends of the split route. Activate both magnets simultaneously to bring them together in the center. This crossing uses their stronger attraction ability introduced earlier in that section.
Continue with
 It Takes Two Kaleidoscope Puzzle: Complete WalkthroughSolve the It Takes Two kaleidoscope puzzle with steps for glowing floor tiles, the mirror room, and rotating pillars. Get Cody and May across the gap.
More in Puzzles
It Takes Two After Bull Fight: Clockworks Walkthrough
Stuck in It Takes Two after bull fight? Clear the debris, solve the wall and lantern puzzles, dodge the clock hands, and keep moving through the tower.
It Takes Two Clock Birds: Puzzles and Flying Guide
Solve the It Takes Two clock birds puzzles, learn the animal symbol order, fly between towers, and break shield mechanisms with this co-op walkthrough.
It Takes Two Clock Tower Moving Wall: Puzzle Guide
Solve the It Takes Two clock tower moving wall puzzles with May's clone, Cody's time powers, and clear steps for the crushing wall and vertical wall climb.
It Takes Two Underwater Pipes Walkthrough: All Puzzles
Use It Takes Two underwater pipes walkthrough to tighten all three screws, clear the spinning fans, solve the dome puzzle, and restart the candy factory.
Continue exploring
It Takes Two Voice Actors: Meet the Cast and Characters
Meet the It Takes Two voice actors behind Cody, May, Rose, and Dr. Hakim. Explore the English cast, supporting characters, and familiar voices in the game.
It Takes Two Local Co Op: Easy Split-Screen Setup Guide
Set up It Takes Two local co op with PC and PS5 controller steps, split-screen tips, and answers about Friend's Pass. Start playing together on one screen.
Join the community
Official channels for news, updates and player help: