
It Takes Two Clock Tower Moving Wall: Puzzle Guide
Solve the It Takes Two clock tower moving wall puzzles with May's clone, Cody's time powers, and clear steps for the crushing wall and vertical wall climb.
Jump to
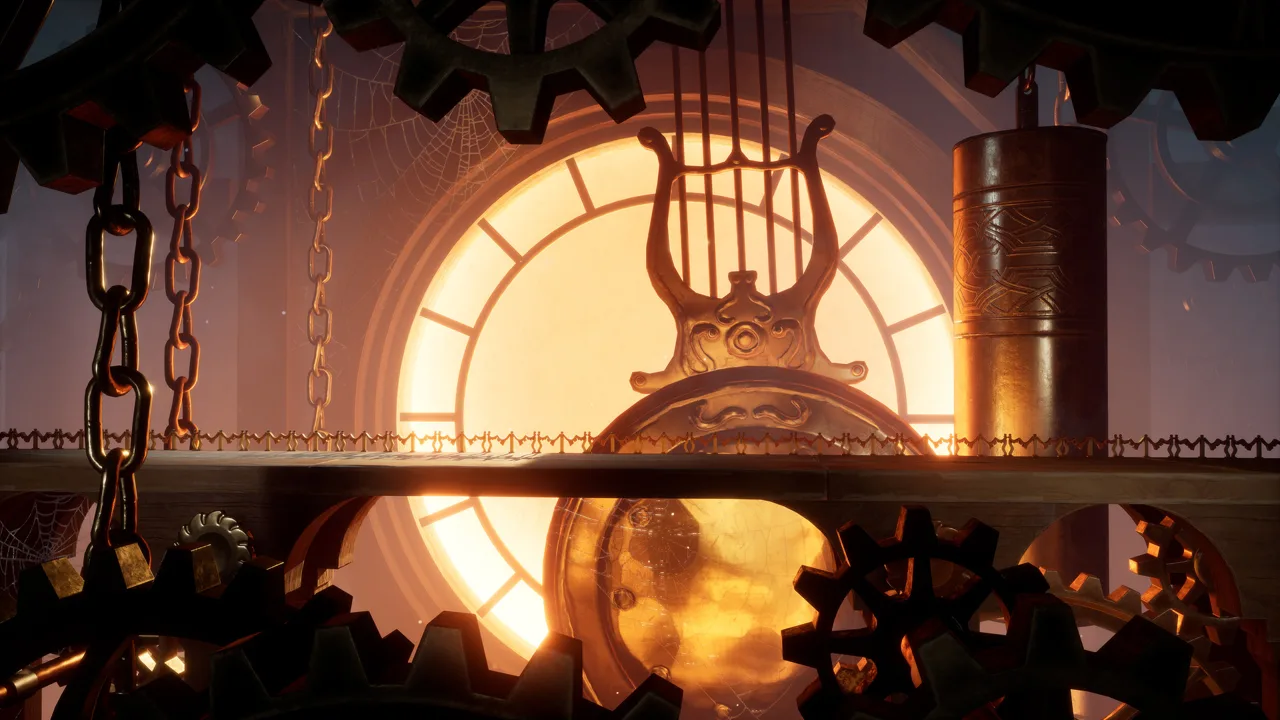
How to Solve the Clock Tower’s Closing Wall
The It Takes Two clock tower moving wall puzzle is solved by letting the wall pass May’s clone, then teleporting behind it. Move quickly, because May has to reach the statue on the far side to stop the wall and save Cody. If your It Takes Two clock tower moving wall problem involves climbing between vertical surfaces instead, Cody needs to shift those walls toward May as she jumps.
The closing-wall encounter happens immediately after you enter the main clock tower. The room starts squeezing you, and May’s cloning ability provides the escape route.
Closing-wall solution, step by step
- Move May toward the approaching wall. Place her clone close to it, on the side where both characters are currently trapped.
- Let the wall move past the clone’s position. The clone stays where May placed it while the obstacle travels through that location.
- Teleport May to the clone. Once the wall has passed that spot, teleporting puts her on the opposite side.
- Run to the statue ahead. Interact with it to stop the moving wall and rescue Cody.
- Continue to the key in the floor. Both characters must interact with the key and rotate it to advance.
The important distinction is between getting May across and finishing the rescue. Teleporting solves the barrier, but interacting with the statue stops the danger.
| Character | Action during the closing-wall puzzle | Purpose |
|---|---|---|
| May | Places a clone near the approaching wall | Establishes a teleport destination |
| May | Teleports after the wall passes the clone | Reaches the other side |
| May | Interacts with the statue ahead | Stops the wall and saves Cody |
| Cody and May | Rotate the floor key afterward | Continue through the tower |
For this It Takes Two clock tower moving wall solution, focus on the clone’s position relative to the wall. Teleporting while the clone is still on your side leaves May trapped with Cody.
Official page: It Takes Two (ea.com)
Understand May’s Clone Before You Retry
May’s clone works like a bookmark in space. You leave it at a location, move elsewhere, and teleport back to that location when needed. You cannot steer the clone around like another playable character.
 Image: Steam / Hazelight Studios
That fixed position explains the closing-wall trick. The wall changes sides relative to the clone as it moves across the room. Once it passes the marker, May has a destination beyond the obstacle.
The same ability also works with elevators and moving platforms throughout Cuckoo Clock. A clone can remain at its original height even when the platform beneath it moves away. Several puzzles ask you to arrange a platform under that position before teleporting.
Read the wall before teleporting
During the It Takes Two clock tower moving wall encounter, watch for these changes:
| Situation | Where the clone is relative to the wall | What May should do |
|---|---|---|
| May has just placed the clone | On the trapped side | Watch the wall approach |
| The wall has not passed the marker | Still on the trapped side | Wait for it to cross the marker |
| The wall has passed the marker | Beyond the wall | Teleport to the clone |
| May has crossed | May can reach the statue | Run forward and interact |
Call out “clone placed” and “wall passed” to keep both players focused on the same moment. These cues describe the actual puzzle state and avoid confusion over when May should teleport.
After crossing, turn your attention toward the statue. The clone has already done its job; the next action is the interaction that stops the wall.
Remember this relationship for later puzzles: the clone preserves a location while Cody changes the surrounding machinery. That is especially useful when a platform needs to move away and return beneath May’s teleport destination.
Climb the Vertical Moving Walls After the Mechanical Bull
Another It Takes Two clock tower moving wall puzzle appears after the Mechanical Bull fight. This encounter uses coordinated wall jumps rather than teleporting through a closing barrier.
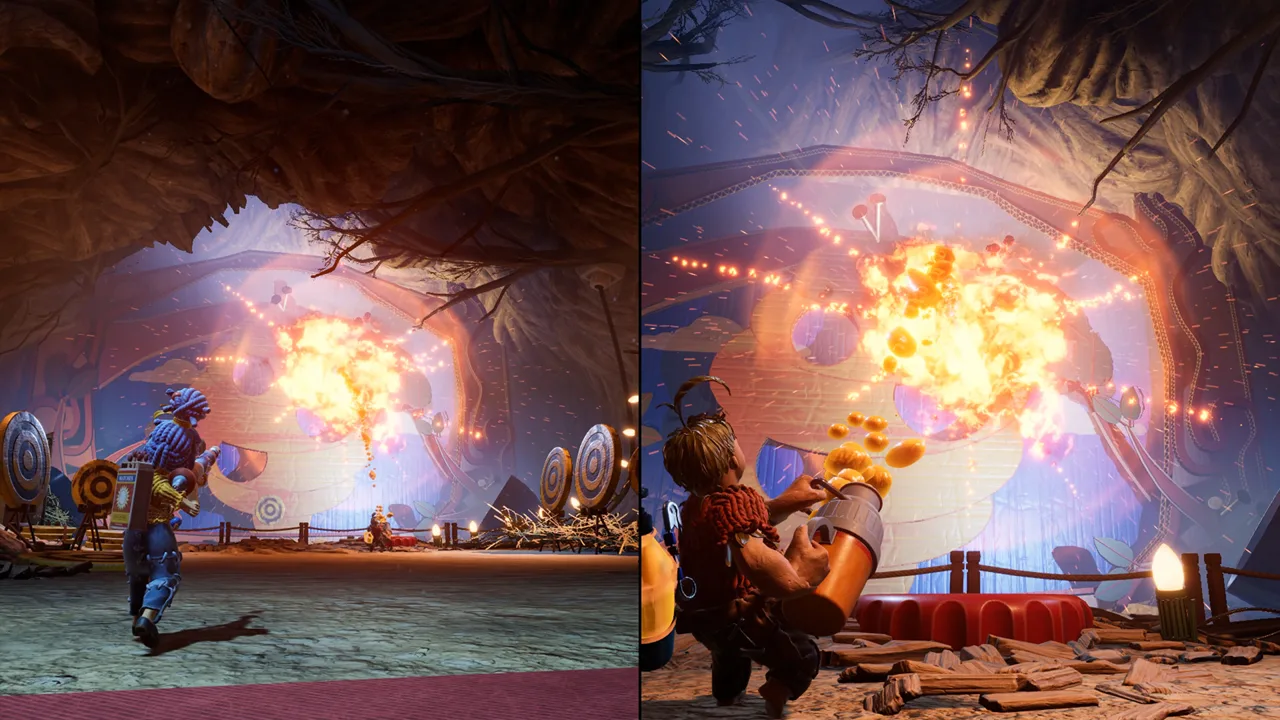 Image: Steam / Hazelight Studios
After the battle, Cody manipulates the fallen debris so May can climb upward. She reaches the other side through a hole in the wall and pulls a lever to drop a pocket watch for Cody. Once both characters continue, they reach the vertical-wall section.
The gray walls at the far end need Cody’s time manipulation. May cannot complete the climb without him bringing each landing surface within reach.
Coordinate each wall jump
- Have Cody take control of the movable walls. Watch how scrubbing time shifts their positions.
- Start May’s climb between the walls. Identify which side she is jumping toward.
- Move the destination wall toward May. When she jumps right, Cody shifts the walls left to bring the right-hand landing surface closer.
- Reverse the movement for the next jump. When May jumps left, Cody shifts the walls right.
- Repeat the alternating pattern until May reaches the top.
| May’s movement | Cody’s adjustment | Intended result |
|---|---|---|
| Jumping toward the right wall | Shift the walls left | Bring the right wall into reach |
| Jumping toward the left wall | Shift the walls right | Bring the left wall into reach |
| Preparing the next jump | Watch May’s destination | Coordinate the next adjustment |
| Reaching the top | Let May continue to the lantern | Prepare Cody’s route upward |
Use the landing wall as your reference. “Bring the right wall toward May” is clearer than calling out an unexplained stick direction, especially while Cody is learning how the timeline affects the mechanism.
Bring Cody up with the lantern
At the top, May pushes down an empty lantern, which breaks below. Cody stands on its broken lid and reverses time. Rebuilding the lantern carries him upward so he can rejoin May.
The next obstacle uses a floor button and stairs:
- Cody stands on the gold button so May can climb.
- May leaves a clone upstairs, then returns to take Cody’s place on the button.
- Cody climbs the stairs.
- May teleports to her clone to join him.
This sequence combines the chapter’s two central ideas: Cody changes an object’s state, and May keeps access to a useful position.
Recognize the Other Moving-Wall Challenges
The phrase “clock tower moving wall” can also point to nearby challenges with different solutions. Identify the surroundings before repeating an approach from another room.
 Image: Steam / Hazelight Studios
| Challenge | Identifying feature | Required action |
|---|---|---|
| Closing wall inside the main tower | A wall threatens to crush the characters | May teleports behind it and stops it at the statue |
| Vertical walls after the Mechanical Bull | May climbs while Cody controls wall positions | Cody brings each destination wall toward May |
| Helltower climb | Rotating platforms lead to walls that separate and return | Time wall jumps around the walls’ movement |
| Main clock tower entrance | Slim wall-jump openings flank the door | Both characters climb their respective openings |
| Key route before the Mechanical Bull | A narrow opening leads toward the caged key | Cody opens the gap so May can wall jump upward |
Helltower’s separating walls
Helltower is in the clock village during Gates of Time. Its climb includes rotating platforms and a pair of vertical walls that move apart and back together.
At those walls, stay against one surface while they separate. When they return toward each other, jump across to the opposite wall. Repeat that rhythm to gain height.
Wait for the surfaces to close the distance before attempting the next crossing. Trying to chain rapid wall jumps while they are separating works against the movement pattern.
Reaching Helltower’s summit unlocks Platforming Prodigy. At least one player must complete the climb to trigger the achievement or trophy.
The tower entrance and caged-key route
Before entering the main clock tower, both characters wall jump in the slim openings on opposite sides of its door. Their climbing moves the door’s gears. Keep working those openings until the entrance opens.
Later, on the route to the caged key, Cody uses time reversal to open a narrow gap between walls. May wall jumps through that opening to reach the upper area. From there, the route continues through platforms and a launcher toward the cage.
Fix Failed Attempts With Clear Co-op Calls
The It Takes Two clock tower moving wall puzzles ask each player to track a different part of the action. May watches her route and landing surfaces; Cody watches the machinery he can manipulate.
Use short calls tied to visible actions. “Clone placed,” “jumping right,” and “at the top” give your partner information they can act on immediately.
If May keeps teleporting to the trapped side
Watch the clone instead of May’s current position. The wall must pass the marker before teleporting will put her beyond it.
Place the clone near the approaching wall, then watch the crossing carefully. Once May arrives on the far side, run directly toward the statue and interact.
If May keeps missing the vertical walls
Check whether Cody is bringing the destination surface closer. Moving it away during May’s jump increases the gap she needs to cross.
Call the destination before each jump:
- “Right wall” means bring the right wall toward May.
- “Left wall” means bring the left wall toward May.
- “Top” means May has finished climbing and can move to the lantern.
Keep the calls consistent throughout the attempt. Switching between May’s travel direction and Cody’s control direction can make the same instruction mean two different things.
For the It Takes Two clock tower moving wall climb, build the rhythm around each landing. Watch May reach one surface, identify the opposite destination, and coordinate the next jump with Cody’s adjustment.
FAQ
How do you get past the It Takes Two clock tower moving wall?
Have May place a clone near the approaching wall. Wait until the wall passes the clone, then teleport to it. Run forward and interact with the statue to stop the wall and save Cody.
How does Cody help May climb the vertical walls?
Cody uses time manipulation to shift the walls toward May’s next landing. When May jumps right, shift the walls left; when she jumps left, shift them right. Alternate these movements until she reaches the top.
How does Cody reach May after the vertical-wall climb?
May pushes a lantern down from above. Cody stands on the broken lantern lid and reverses time, rebuilding the lantern and riding it upward.
Is Helltower’s moving-wall section the same puzzle?
Helltower uses walls that separate and return during a platforming climb. Stay against one wall as they spread apart, then jump to the opposite wall when they come back together. Reaching the summit unlocks Platforming Prodigy.
Continue with
 It Takes Two Ice Bridge Magnets: Step-By-Step GuideSolve the It Takes Two ice bridge magnets puzzle with clear Cody and May roles, bridge alignment steps, and tips for crossing Snow Globe's tricky gaps.
More in Puzzles

It Takes Two After Bull Fight: Clockworks Walkthrough
Stuck in It Takes Two after bull fight? Clear the debris, solve the wall and lantern puzzles, dodge the clock hands, and keep moving through the tower.
It Takes Two Clock Birds: Puzzles and Flying Guide
Solve the It Takes Two clock birds puzzles, learn the animal symbol order, fly between towers, and break shield mechanisms with this co-op walkthrough.
It Takes Two Kaleidoscope Puzzle: Complete Walkthrough
Solve the It Takes Two kaleidoscope puzzle with steps for glowing floor tiles, the mirror room, and rotating pillars. Get Cody and May across the gap.

It Takes Two Underwater Pipes Walkthrough: All Puzzles
Use It Takes Two underwater pipes walkthrough to tighten all three screws, clear the spinning fans, solve the dome puzzle, and restart the candy factory.
Continue exploring

Join the community
Official channels for news, updates and player help: