It Takes Two Clock Birds: Puzzles and Flying Guide
Solve the It Takes Two clock birds puzzles, learn the animal symbol order, fly between towers, and break shield mechanisms with this co-op walkthrough.
Jump to
How to Solve the It Takes Two Clock Birds Puzzles
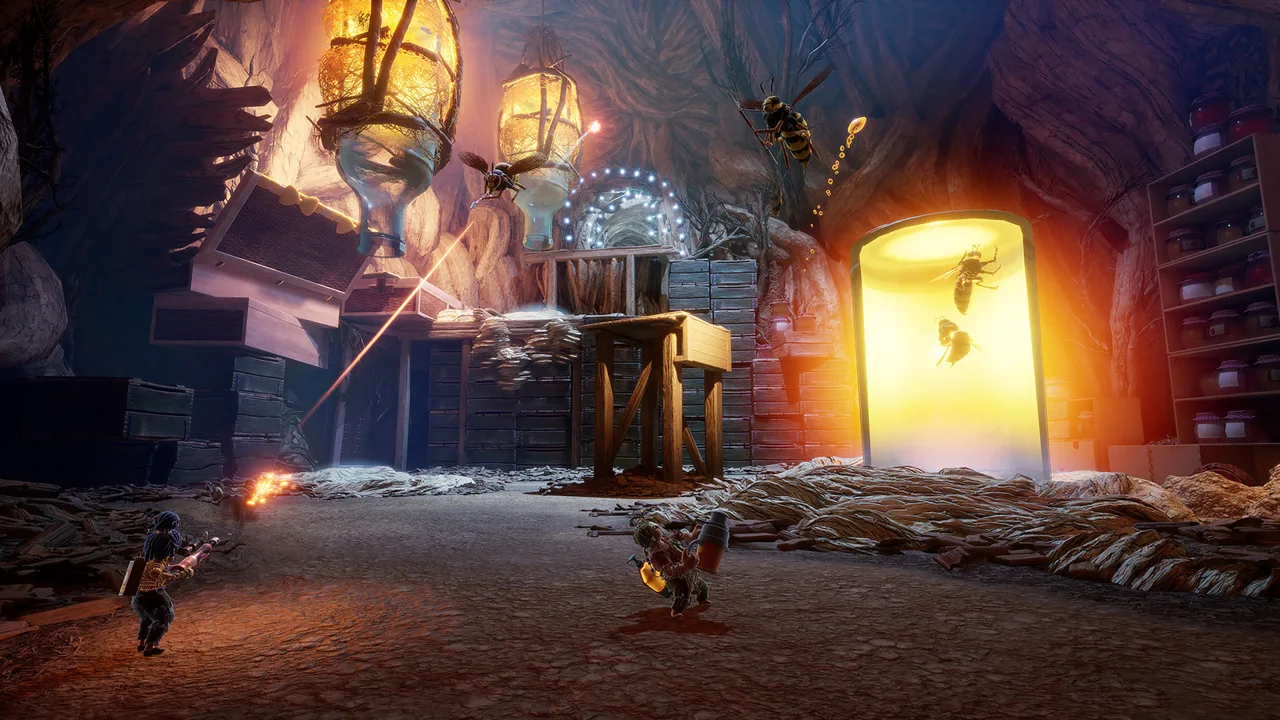
The It Takes Two clock birds puzzles turn statues, flying mounts, and explosive birds into tools for opening the Clock Tower. To advance, combine Cody’s time control with May’s clone teleport, solve the two smaller towers, and destroy their rooftop mechanisms. This It Takes Two clock birds walkthrough covers that route, including the animal combination and the timing tricks that make the early statues work.
Your next move depends on which bird you’re facing:
| Bird encounter | What you need to do |
|---|---|
| Falling bird statue | Place May’s clone beneath it, teleport after it falls, and rewind |
| Owl statue and elevator | Launch May forward, then combine elevator movement with teleporting |
| Rideable birds | Fly both characters to the smaller towers |
| Orange explosive birds | Carry and launch them at the rooftop mechanisms |
| Giant mechanical bird | Move away from its attack shadows on the clock face |
Cody changes the position of mechanisms, while May uses her clone to return to a location after the scenery has moved. Keep those jobs separate when calling out instructions: say whether you need a rewind, a release, or a teleport.
Get onto the falling bird statue
Trying to jump directly onto the statue can send you through repeated failed attempts. Use the bridge beneath it to position May’s clone instead.
- Have Cody reverse time to raise the bird statue and restore the bridge.
- Move May to the end of the bridge, directly beneath the raised bird.
- Leave May’s clone there, then return to Cody.
- Have Cody release his time control so the bird falls.
- Teleport May to her clone. She will now be standing on the fallen bird.
- Reverse time again to lift the statue with May aboard.
- Move May along the wing and jump to the elevated button.
- Ground pound the button, then return to the grappling hook and swing through the opened doorway.
Place the clone before letting the bird fall. That setup is the essential move in this It Takes Two clock birds puzzle; the rewind becomes useful once May is riding the statue.
Use the owl and elevator
In the next room, Cody restores the owl statue while May stands on the black platform beyond the ledge. Releasing time launches her toward the silver elevator.
Cody then raises the elevator using time control. At its highest position, May should leave a clone. Let the elevator move back down, then teleport May to the clone so she lands one level higher on the structure.
Raise the elevator again. May can now exit to the right and follow the hallway to the bird statue that opens the wooden dolls’ route.
Activate the three cuckoo houses
The circular room contains three small cuckoo houses. You need their buttons depressed together:
- Put Cody on one button.
- Leave May’s clone on another.
- Move May onto the remaining button.
- Once Cody and May have pressed theirs down, teleport May to her clone.
This activates the central platform. Cody should rewind it, May should step aboard, and Cody should release time to launch her forward. Have May stand on the destination button to open the way into the clock village.
Official page: It Takes Two (ea.com)
Fly to the Tower and Enter the Animal Code
The flying portion of the It Takes Two clock birds sequence begins after you pass through the village and reach the elevator beyond the large gate. During the village route, you’ll extinguish the burning house, lower the bridge, and match the gate’s clock hands to the large clock in the distance.
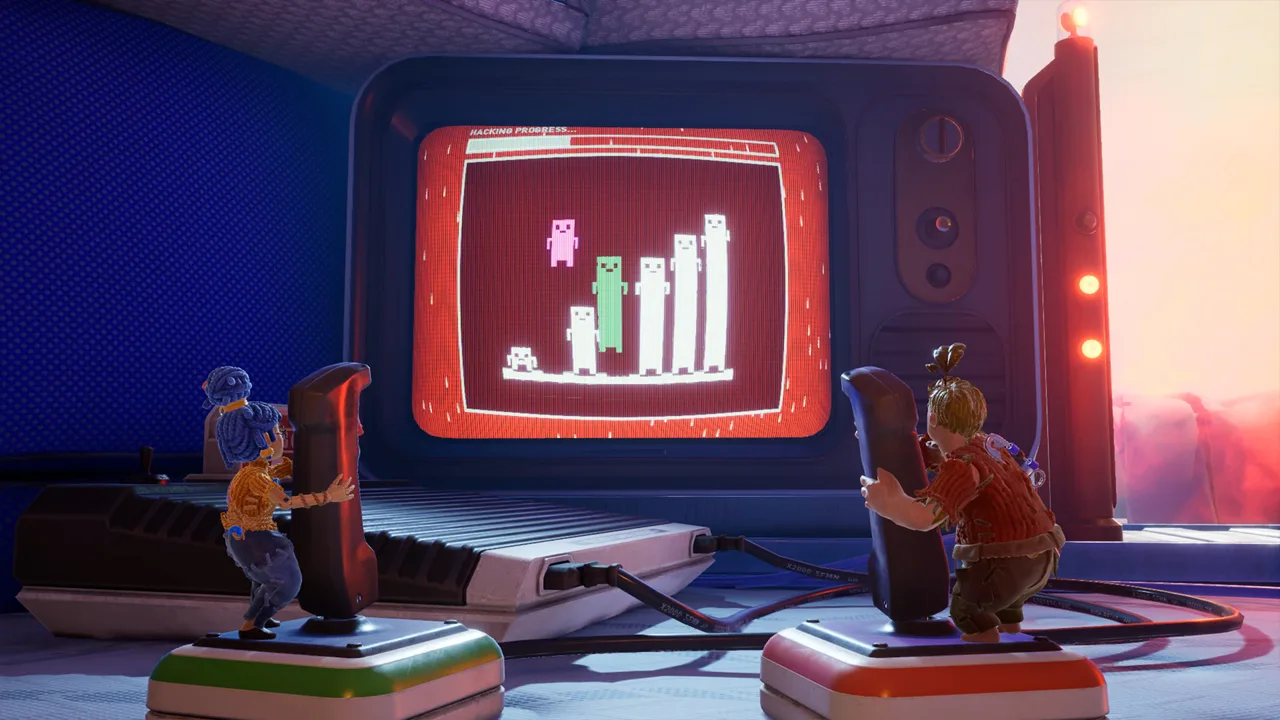 Image: Steam / Hazelight Studios
After the elevator cutscene, take a bird each and fly together to the smaller tower on the right. Land and ride the elevator down. Both characters need to work through this tower together, so stay on the same route.
Inside, you’ll find a circle of six symbols. Ground pound them in this order: Bee → Bird → Cat → Moon → Dog → Sun.
| Step | Symbol to ground pound |
|---|---|
| 1 | Bee |
| 2 | Bird |
| 3 | Cat |
| 4 | Moon |
| 5 | Dog |
| 6 | Sun |
The combination follows the times displayed beneath the matching symbols in a separate room. To reach that clue room:
- Have Cody reverse time to form the bridge deeper inside the cavern.
- Send May across and leave a clone beyond the bridge.
- Bring May back toward Cody so the blocking door retracts.
- Teleport May to her clone and move through the doorway.
- Have Cody return to the symbol circle while May reads the clocks.
Press the symbols individually in sequence. Pairing opposites such as Sun and Moon will not produce the required combination.
For clear co-op communication, read one symbol at a time and wait for Cody to complete the ground pound before naming the next. “Bee, done; Bird, done” keeps the sequence easier to track than calling out the entire answer at once.
Complete the puzzle, pass through the opened doorway, and take the elevator back up. Then use the flying explosives to destroy this tower’s rooftop mechanism before moving to the other tower. The bombing controls are covered below.
Cross the Colored Platforms in the Other Tower
The second smaller tower swaps symbol reading for timed platforming. Its floating colored tufts support you only while the rotating hand points to the matching color.
Watch the dial before jumping. Your current platform stops supporting you as soon as the hand leaves its color, so prepare the next jump while you still have footing.
| Platform challenge | Required action |
|---|---|
| Opening crossing | Follow the hand through green, red, then blue |
| Bridge beside the next puzzle | Cody reverses time so May can cross |
| Cody’s crossing | May changes platform colors with the floor buttons |
| May’s crossing | Cody controls the hand with his time ability |
Follow the rotating hand
For the opening crossing, step onto the green tuft while the hand points to green. Jump to red as the hand enters red, then move to blue during its matching interval.
Keep your attention on the next landing spot and the dial together. Waiting until a platform disappears leaves you reacting after your footing is already gone.
Call out the upcoming color before it activates. That gives your partner time to line up the jump.
Send May to the controls
The following room adds a mismatch between the platform colors and the rotating hand. Cody must reverse time to create a bridge on the left, allowing May to reach the controls.
May should stand on the arrow button nearest her. This changes the first tuft from red to green. Cody can then begin his crossing by jumping onto blue during the blue interval, followed by green during green.
Once Cody reaches green, May needs to move to the next floor button so he can continue across. Coordinate this change with Cody’s position rather than running between the buttons without warning.
Bring May across
After Cody reaches the other side, he can manipulate the rotating hand to activate the platforms May needs.
Use short calls such as “ready,” “jump,” and the destination color. Cody should change the hand as May commits to her next jump, taking care not to remove the platform beneath her too early.
This part of the It Takes Two clock birds route depends on both players watching the same movement. Finish the crossing together, take the elevator up, and return to your birds.
Use Flying Bombs to Destroy Both Tower Mechanisms
Completing the interiors is only part of opening the central shield. Each smaller tower also has a rooftop mechanism that you must destroy from the air.
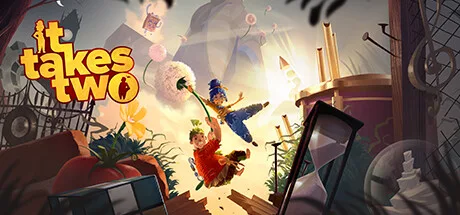 Image: Steam / Hazelight Studios
Ride toward the orange explosive birds, grab one, and carry it to the machine above the tower you completed. Aim at the mechanism and launch the explosive. Three successful hits destroy a rooftop mechanism.
For the It Takes Two clock birds bombing sequence, these controller inputs handle grabbing and firing:
| Action | Xbox controller | PlayStation controller |
|---|---|---|
| Grab an explosive bird | Y | Triangle |
| Aim | LT | L2 |
| Launch the explosive | RT | R2 |
Follow the displayed prompts when using another control setup.
Keep the rooftop machine in view as you approach. Line up the shot before firing, then collect another explosive for the next hit. Count successful impacts so you know how many more you need.
Destroying the mechanism above the animal-symbol tower removes that tower’s contribution to the shield. After finishing the colored-platform tower, repeat the bombing process above it. With both mechanisms destroyed, the central barrier disappears.
If you’ve completed both interiors but the shield remains, check the rooftops. The interior puzzle and the rooftop machine are separate parts of the same objective.
Avoid spending your carried explosives on the village scenery while working through this section. Bring them directly to the tower mechanism so each flight advances the route.
Open the Clock Tower and Dodge the Giant Bird
Once the shield is gone, return to the wooden Cody and May dolls. Cody needs to reverse time to raise their platform and let them continue toward the Clock Tower entrance.
At the door, each player should enter one of the narrow openings on either side. Jump between the walls to turn the door’s gears, and keep going until the entrance opens.
The It Takes Two clock birds encounters continue later in Clockworks with a giant mechanical bird attacking a clock-face arena. Watch the shadows that appear on the floor: they mark the areas the bird is about to sweep through.
Move out of each marked area and continue avoiding the attacks until the cutscene takes over. During this encounter, focus on reading the floor and keeping space to move.
FAQ
What is the animal order in the It Takes Two clock birds puzzle?
Ground pound Bee, Bird, Cat, Moon, Dog, then Sun. The order follows the times shown beneath the matching symbols in the clue room.
How do you get May onto the falling bird statue?
Restore the bridge and bird with Cody’s time ability. Leave May’s clone at the bridge’s end beneath the bird, move her away, and let the statue fall. Teleport to the clone, then rewind to lift May on the statue.
Why is the central Clock Tower shield still active?
Each smaller tower has an interior puzzle and a rooftop mechanism. Complete the puzzles and destroy both rooftop machines using the orange explosive birds. Each machine takes three successful hits.
How do you survive the giant mechanical bird?
Watch for shadows on the clock face and move out of them before the bird attacks. Keep dodging the marked areas until the encounter reaches its cutscene.
Continue with
 It Takes Two Clock Tower Moving Wall: Puzzle GuideSolve the It Takes Two clock tower moving wall puzzles with May's clone, Cody's time powers, and clear steps for the crushing wall and vertical wall climb.
More in Puzzles
It Takes Two After Bull Fight: Clockworks Walkthrough
Stuck in It Takes Two after bull fight? Clear the debris, solve the wall and lantern puzzles, dodge the clock hands, and keep moving through the tower.
It Takes Two Ice Bridge Magnets: Step-By-Step Guide
Solve the It Takes Two ice bridge magnets puzzle with clear Cody and May roles, bridge alignment steps, and tips for crossing Snow Globe's tricky gaps.
It Takes Two Kaleidoscope Puzzle: Complete Walkthrough
Solve the It Takes Two kaleidoscope puzzle with steps for glowing floor tiles, the mirror room, and rotating pillars. Get Cody and May across the gap.
It Takes Two Underwater Pipes Walkthrough: All Puzzles
Use It Takes Two underwater pipes walkthrough to tighten all three screws, clear the spinning fans, solve the dome puzzle, and restart the candy factory.
Continue exploring
It Takes Two Queen Wasp: Boss Fight Guide and Tips
Beat the It Takes Two queen wasp with coordinated sap attacks, smart rail movement, and clear counters for every phase. Learn how to break the final chain.
It Takes Two Abilities: Cody and May's Powers Explained
Explore It Takes Two abilities for Cody and May, from sap guns and magnets to time control. Learn how their powers work together to solve co-op challenges.
Join the community
Official channels for news, updates and player help: