It Takes Two After Bull Fight: Clockworks Walkthrough
Stuck in It Takes Two after bull fight? Clear the debris, solve the wall and lantern puzzles, dodge the clock hands, and keep moving through the tower.
Jump to
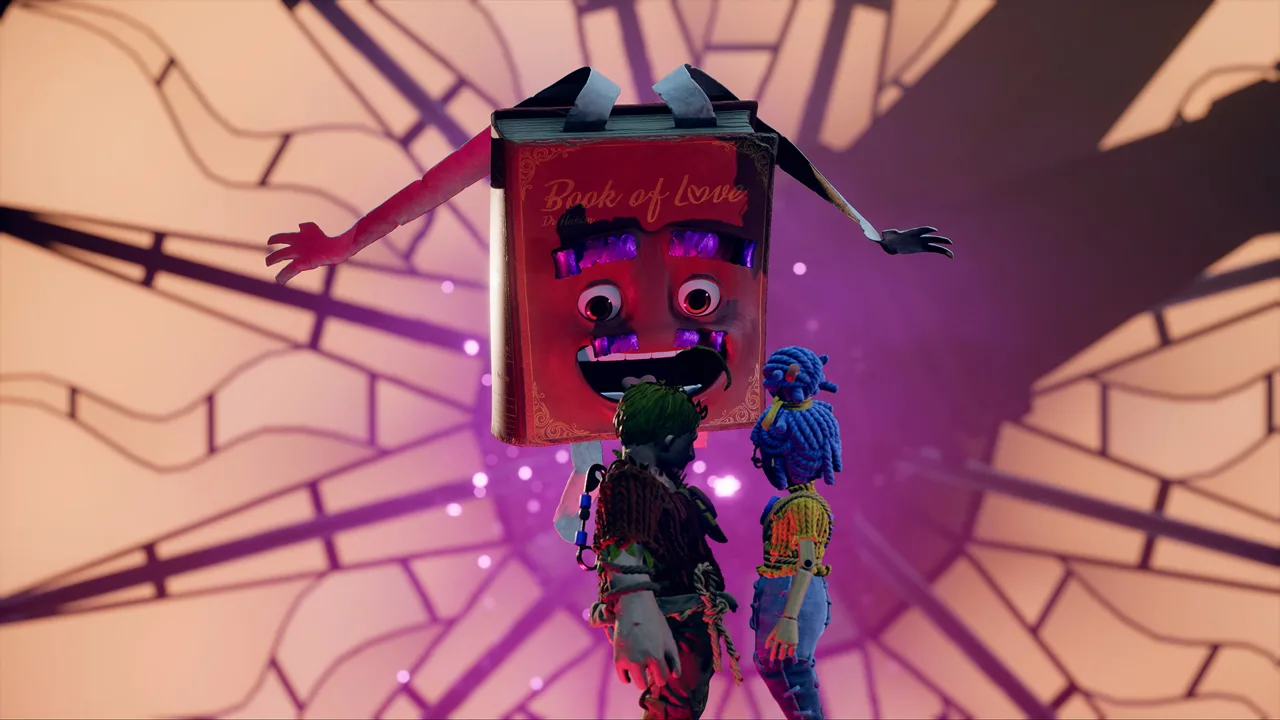
Where Do You Go After the Bull Fight?
Looking for the It Takes Two after bull fight route? Have Cody reverse time on the fallen debris so May can climb toward the grapple and the opening in the wall. This It Takes Two after bull fight walkthrough takes you through that exit, the moving walls, the lantern puzzle, and the clock tower hazards ahead.
Defeating the Mechanical Bull leaves you inside the Clockworks section of the Cuckoo Clock chapter. Your next objective is to get May above the wreckage, then open a route for Cody to follow.
Climb the Debris and Reach the Lever
- Have Cody use time reversal on the fallen pieces. May needs those pieces repositioned so she can platform upward.
- Move May across the restored route. Coordinate each jump with Cody instead of changing the debris while she is still lining up her landing.
- Grab the grapple at the end. Swing toward the opening in the wall and pass through it.
- Pull the lever beyond the opening. This drops a pocket watch down to Cody.
- Bring Cody across using the pocket watch. Once he reaches May, continue into the next room together.
| Obstacle | Cody’s Job | May’s Job |
|---|---|---|
| Fallen debris | Reverse time to reposition the pieces | Climb the route created by the moving pieces |
| Grapple and wall opening | Keep the route usable while May crosses | Swing through the opening |
| Gap below May | Use the dropped pocket watch to cross | Pull the lever that drops the watch |
If May keeps swinging past the opening in your It Takes Two after bull fight run, adjust the swing before releasing. Aim her movement through the gap rather than jumping as soon as she reaches the grapple.
Keep the roles clear here: May reaches the mechanism above, then uses it to help Cody catch up. Both characters need to reach the next room before tackling its puzzle.
Official page: It Takes Two (ea.com)
Solve the Moving Walls and Lantern Puzzle
The next It Takes Two after bull fight puzzle puts May’s wall jumps under Cody’s control. Head to the far end of the room and find the gray vertical walls.
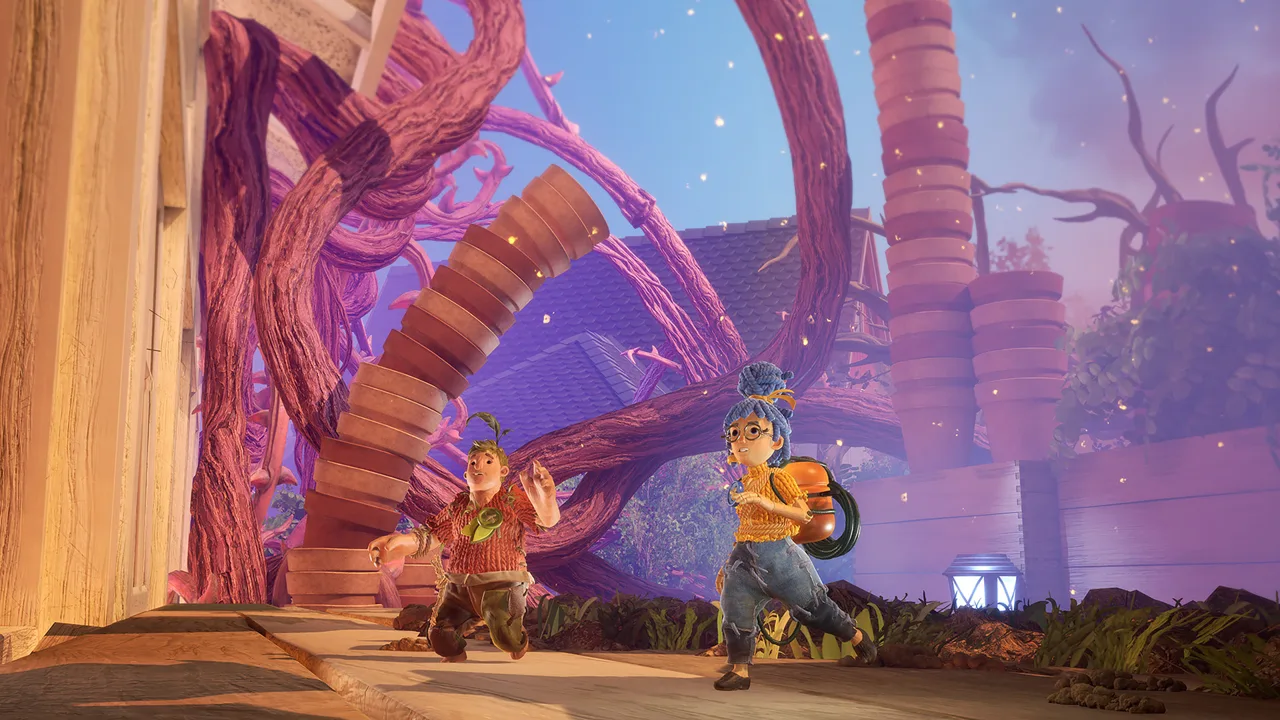 Image: Steam / Hazelight Studios
May cannot climb this section through jumping alone. Cody needs to move the walls back and forth with his time ability, bringing the next surface into position while she crosses between them.
Alternate Wall Jumps With Time Movement
- Position May between the vertical walls.
- Start a wall jump toward the right. Cody should move the walls left to help her reach the opposite surface.
- Jump back toward the left. Cody should move the walls right.
- Repeat that alternating pattern until May reaches the upper ledge.
Call out the direction of May’s next jump before Cody moves anything. Short cues such as “jumping right” and “jumping left” give both players a clear action to coordinate.
Avoid sweeping the mechanism back and forth without watching May. Follow her jumps, and shift the walls to meet her next landing.
Break the Lantern, Then Rebuild It With Cody Aboard
At the top, May needs to push down the empty lantern. It falls and breaks below her, creating Cody’s ride upward.
Have Cody stand on the broken lantern lid, then reverse time. As the lantern reconstructs and returns upward, it carries him to May.
| Part of the Puzzle | Required Action | Result |
|---|---|---|
| Vertical walls | Cody moves them opposite May’s jump direction | May can continue climbing |
| Lantern on the upper ledge | May pushes it down | The lantern breaks below |
| Broken lantern lid | Cody stands on it and reverses time | Cody rides upward to rejoin May |
The important detail is Cody’s starting position. Put him on the broken lid before rewinding the lantern. Rebuilding it while he stands beside it leaves him below.
Once both characters reach the upper area, look for the gold floor button.
Use the Gold Button and Survive the Clock Face
The It Takes Two after bull fight route now returns to May’s clone ability. The gold button creates stairs, but someone needs to hold it down while the other character climbs.
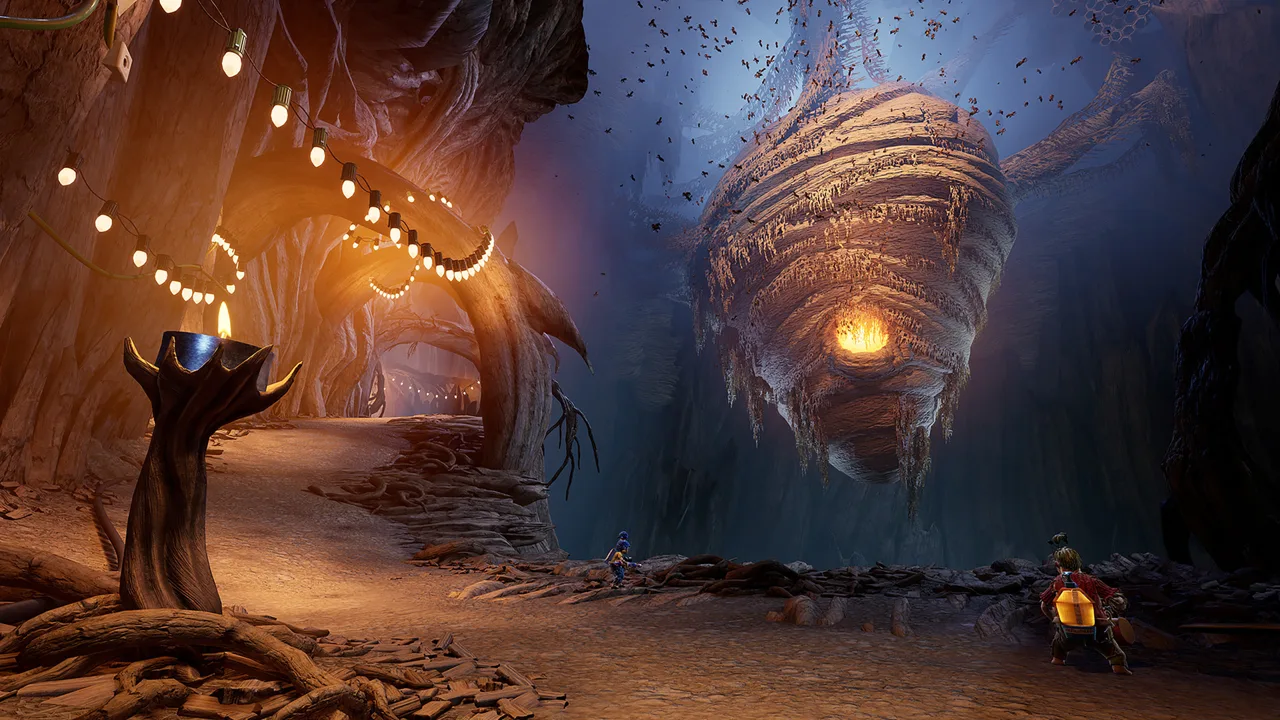 Image: Steam / Hazelight Studios
Get Both Players Above the Stairs
- Put Cody on the gold button. The stairs become available.
- Send May up the stairs.
- Leave May’s clone at the top.
- Bring May back down to stand on the button.
- Move Cody up the stairs.
- Teleport May to her clone. Both characters are now above the button.
Place the clone before May returns downstairs. That upper position is what lets her leave the button after Cody crosses.
| Stage | Cody’s Position | May’s Action |
|---|---|---|
| Open the stairs | Standing on the button | Climb to the top |
| Prepare the return | Still holding the button | Leave a clone upstairs |
| Swap roles | Leave the button and climb | Hold the button below |
| Reunite | Wait upstairs | Teleport to the clone |
Follow the wooden Cody and May dolls along the walkway afterward. They lead you onto a rising platform shaped like a clock face.
Jump Over Both Clock Hands
As the clock face rises, its hour and minute hands rotate independently. Contact with either hand kills your character immediately. Jump over each approaching hand while the platform continues upward.
Watch both hands instead of tracking only the nearest one. After clearing one sweep, check where the other hand is before settling into position.
Your special abilities are unavailable during this survival sequence. Focus on movement, jump timing, and keeping each character clear of the rotating hands.
At the top, leave the clock face and enter the hallway. The next stretch moves from cooperative mechanisms into pocket-watch jumps and rotating grapples.
Cross the Pocket Watches and Dodge the Mechanical Bird
Continue the It Takes Two after bull fight route by heading to the end of the hallway. You will find pocket watches leading toward a small rail.
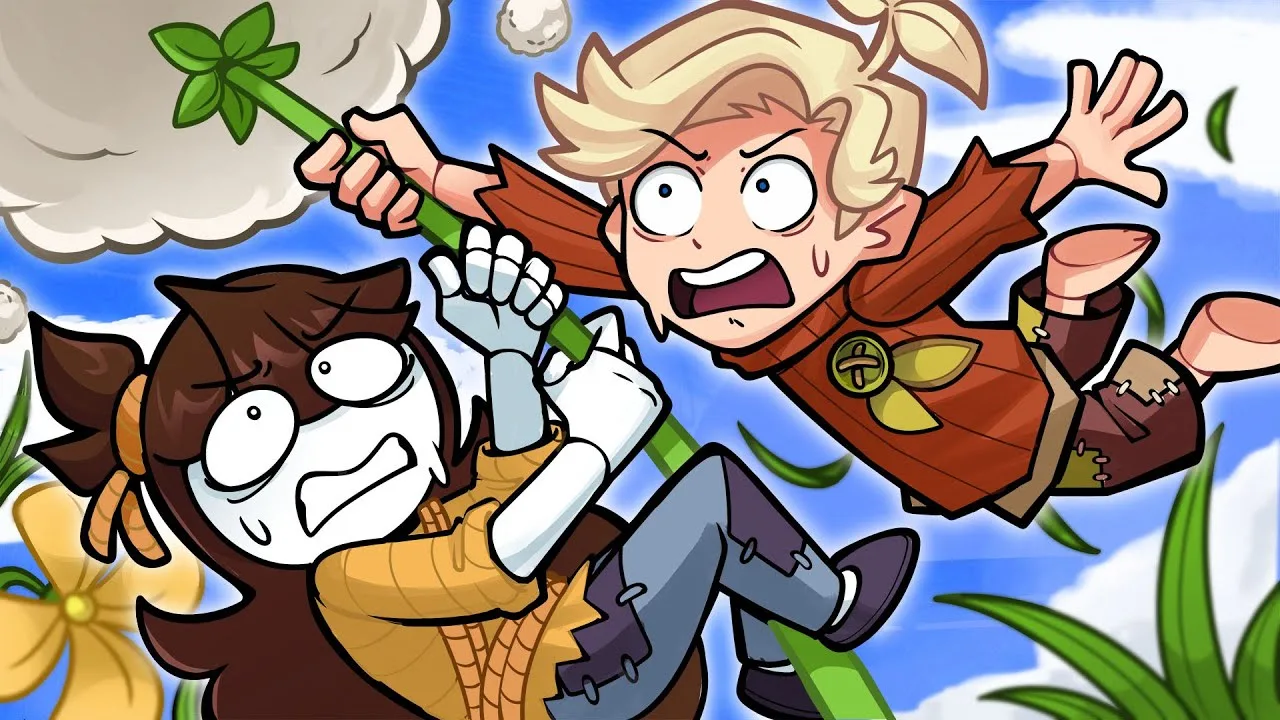
Cross the watches, ride the rail, and prepare to transfer onto the grappling hooks ahead.
Follow the Watches, Rails, and Grapples
Work through this stretch in order:
- Jump from pocket watch to pocket watch.
- Reach the small rail and ride it to the end.
- Jump toward the rotating grappling hooks.
- Transfer between hooks until you reach another rail.
- Ride that rail, then use the next hooks to reach the wall opening.
- Enter the opening and continue through the green door.
The rotating hooks require you to judge where the next grapple will be when you reach it. Watch its movement before committing to the transfer.
Keep checking the next landing or grapple during each crossing. The route changes between standing jumps, rail travel, and swinging, so prepare for the next action before reaching the end of the current one.
Avoid the Bird’s Attack Shadows
Beyond the green door, a giant mechanical bird attacks the clock face.
Watch for shadows appearing on the surface. They mark the areas the bird is about to sweep through, so move out of them before the attack arrives.
Give yourself room to leave a marked area. If your current position becomes shadowed, move promptly rather than waiting for the bird to enter view.
Continue dodging until the cutscene takes over and Cody deals with the bird. Afterward, follow the wooden dolls through the new hallway to reach the next encounter.
Finish the Cuckoo Clock Chapter
The final It Takes Two after bull fight challenges combine moving gaps, falling hazards, targeted explosives, and a time-controlled platforming sequence. Each section has a different visual cue, so adjust what you watch as the encounter changes.
| Challenge | What to Watch | What to Do |
|---|---|---|
| Sweeping chimes | The opening in each passing chime | Move into the opening |
| Falling chimes | Shadows on the platform | Leave the marked areas |
| Shaft descent | Saws and bars below | Steer around the obstacles |
| Targeted grenades | White circles turning orange | Position them over clock faces, then dodge |
| Slow-motion debris | Platforms repositioned through time | Cody adjusts time while May crosses |
Pass Through the Chimes and Survive the Fall
From the square platform, watch the giant chimes swing toward you. Each has a gap that you must line up with as it passes. Getting hit is fatal.
When chimes begin falling, shift your attention to their shadows. Move away from those landing zones. The damage reduces your available platform space, making later sweeps harder to avoid.
Eventually, both characters fall into a shaft. Steer around the saws and bars during the descent. Keep looking below your character so you can move before reaching an obstacle.
Direct the Grenades Onto the Clock Faces
After time reverses the fall, you arrive at a platform with clock faces. White targeting circles surround Cody and May as grenades prepare to drop.
Move those circles over the clock faces. Wait for the circles to turn orange, then dodge away. The grenades land on the targets and destroy them.
Repeat until all the clock faces are destroyed and the next cutscene begins. Call out which face you are targeting so both players can focus on placing their circles accurately.
Guide May Through the Slow-Motion Platforms
Cody and May become separated during the slow-motion sequence. Cody must move time backward and forward to position platforms for May.
Adjust time until she has a reachable landing, let her cross, then reposition the next piece. Some jumps require rewinding; others require moving time forward.
Have May call out when she has landed before Cody makes the next adjustment. That keeps both players focused on the same platform.
Continue until May reaches the solid glass pathway near the bottom of the explosion. After the cutscene, follow the route and jump over its gaps. Completing the remaining sequence brings you through the end of Cuckoo Clock and toward Snow Globe.
FAQ
What do you do in It Takes Two after bull fight?
Cody reverses time on the fallen debris so May can climb to a grapple and swing through a wall opening. May then pulls a lever to drop a pocket watch, allowing Cody to cross and join her.
How do you get Cody up after May climbs the moving walls?
May pushes the empty lantern off the upper ledge. Cody stands on its broken lid and reverses time, riding the lantern upward as it reconstructs.
How do both characters get past the gold button stairs?
Cody holds the button while May climbs and leaves a clone upstairs. May returns to hold the button for Cody, then teleports to her clone once he reaches the top.
Is the Mechanical Bull the end of the Cuckoo Clock chapter?
No. The moving walls, lantern, clock face elevator, grapple route, mechanical bird, and final clock tower sequence all come afterward. Finish those sections to continue toward Snow Globe.
Continue with
 It Takes Two Clock Birds: Puzzles and Flying GuideSolve the It Takes Two clock birds puzzles, learn the animal symbol order, fly between towers, and break shield mechanisms with this co-op walkthrough.
More in Puzzles
It Takes Two Clock Tower Moving Wall: Puzzle Guide
Solve the It Takes Two clock tower moving wall puzzles with May's clone, Cody's time powers, and clear steps for the crushing wall and vertical wall climb.
It Takes Two Ice Bridge Magnets: Step-By-Step Guide
Solve the It Takes Two ice bridge magnets puzzle with clear Cody and May roles, bridge alignment steps, and tips for crossing Snow Globe's tricky gaps.
It Takes Two Kaleidoscope Puzzle: Complete Walkthrough
Solve the It Takes Two kaleidoscope puzzle with steps for glowing floor tiles, the mirror room, and rotating pillars. Get Cody and May across the gap.
It Takes Two Underwater Pipes Walkthrough: All Puzzles
Use It Takes Two underwater pipes walkthrough to tighten all three screws, clear the spinning fans, solve the dome puzzle, and restart the candy factory.
Continue exploring
It Takes Two Vacuum Boss: Complete Co-Op Fight Guide
Beat the It Takes Two vacuum boss with clear co-op roles, mine-return tactics, and tips for dodging shockwaves, explosive tacks, and falling lint. Team up!
It Takes Two Age Rating: What Parents Need to Know
Understand the It Takes Two age rating, language, fantasy violence, and emotional themes before choosing this co-op adventure for your family game night.
Join the community
Official channels for news, updates and player help: